
---------------------------------------------------------
Starting seeds indoors is the most economical way to start a garden. It really isn’t difficult and can be very rewarding to harvest plants that you have nurtured from a tiny seed. Growing from seed is a great way to be able to choose from dozens of different vegetable varieties instead of 1 or 2 varieties at your local garden store.
When should I start seeds inside?
In general, seeds should be started about 6-8 weeks before your area’s last frost. Not sure when that is in your area? Click here to be directed to a handy growing season calculator on Farmer’s Almanac. Simply enter your home zip code and it will give you an approximate date for the last frost.
Where I live on Cape Cod we unfortunately have a short growing season, only about 180 days. I usually start my seeds indoors around Saint Patrick’s Day and move them outside between Mother’s Day & Memorial Day. When the seed catalogs start coming in the mail around January, my eyes light up. Winter is usually wearing thin on me at this point and I’m ready to look forward to spring!

What seeds should I start inside?
Many seeds can be started inside before being moved to the garden. Consult the seed packet for sowing instructions. Plants that should be started well ahead of the last frost (about 6- 8 weeks prior) include broccoli, tomatoes, cabbage, cauliflower, peppers, and melons.
Some plants benefit from a short start inside (about 4 weeks before the last frost) but can get too leggy if started too early and won’t transfer well. These include beans, corn, cucumbers, & squash.
Cold-tolerant seeds like peas, onion sets, beans, and kale can be direct sown outdoors early in the season. Many of these can be started as soon as the ground can be worked (in zone 7 here, I usually can do this in late March). The back of your seed packet will have information on what each particular seed needs.
What do I need to start seeds?
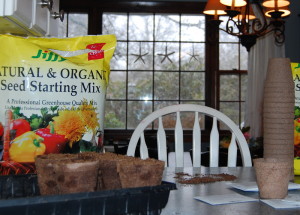
- seed starting soil mix (you don’t want to use potting soil, it is too dense and doesn’t drain as well)
- decent size pots (I like 3-4 inch peat pots, they are big enough that multiple transplants are not needed)
- drainage trays to put the pots in
- sunny, warm window or grow lights
- post it notes or masking tape for making labels
- seeds
*optional – seed heat mat, small fan for circulation
Planting your seeds
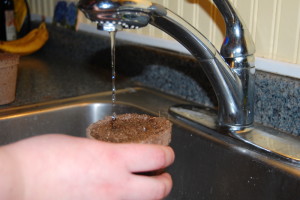
Start off by filling your pots with seed starting mix. The mix should be very light and fluffy, this will allow your young plants to develop roots without any resistance. Dampen the soil in the pot before you plant your seeds.
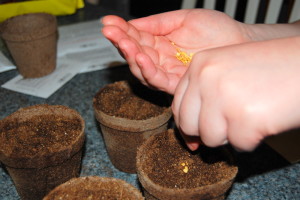
Plant your seeds in the middle of the pot. I usually put in 4-5 seeds per pot for smaller seeds (like broccoli or lettuce) and 2-3 for bigger seeds (like sunflowers or pumpkins).
Cover the seeds with more seed starting mix and gently water again (don’t use too strong a stream of water, you don’t want to disrupt the seeds).
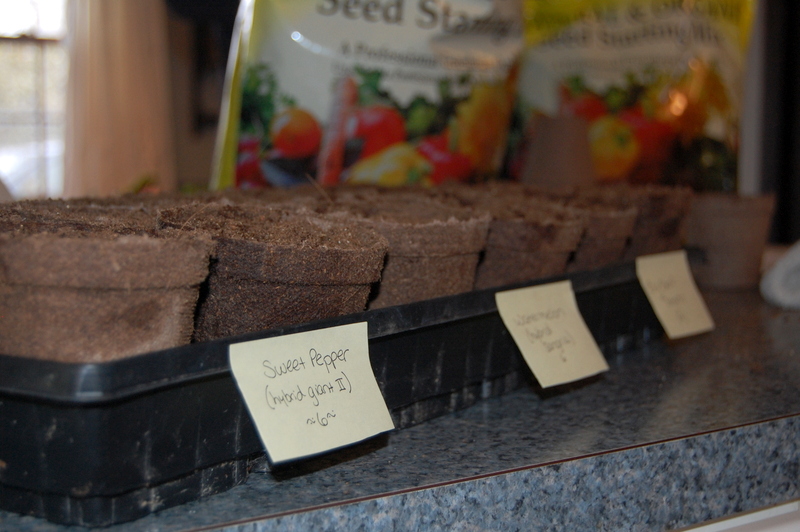
IMPORTANT – plant only one type of seed at a time! Once you have all your seeds planted the pots are going to all look the same and you don’t want to forget which one is which. So plant your tomatoes, put them in the tray, label them, and then move on to the peppers.
Caring for your seeds
Put your seeds in a sunny, warm window
Seeds germinate best when the temperature is between 65-75 degrees. If the space you are keeping them isn’t warm enough, your seeds may be slow to germinate, or they may not germinate at all. You can buy grow lamps or grow mats to put with your trays to help with germination if needed.
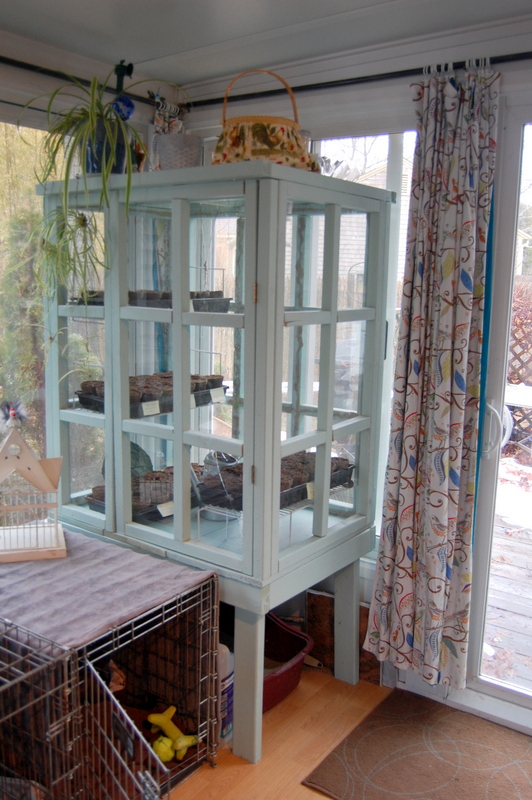
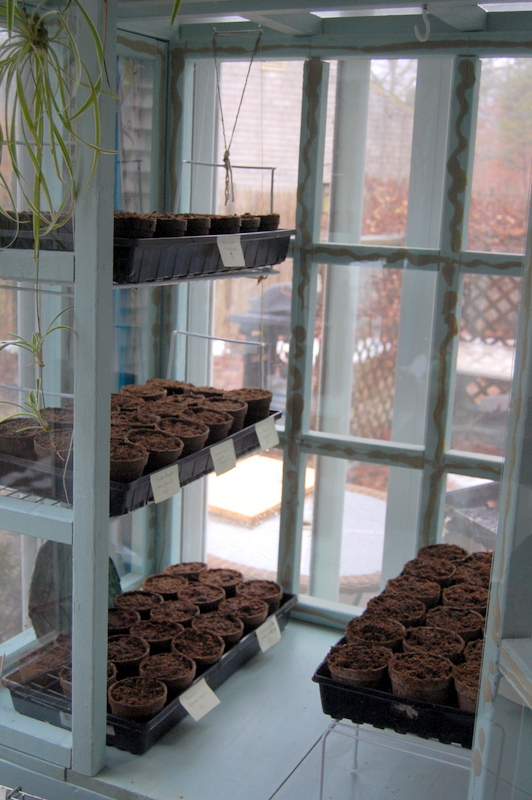
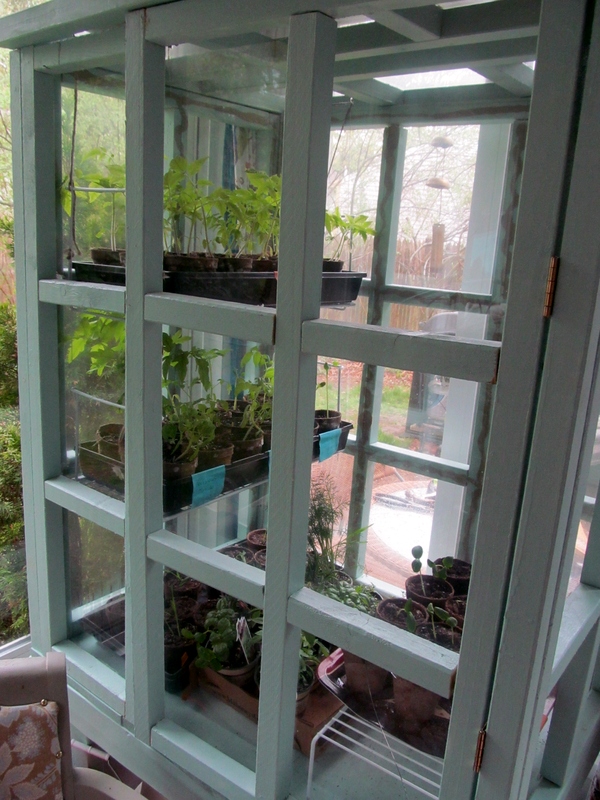
I have an indoor greenhouse that I built for seed starting. I keep it in my sunroom. The sunroom is not heated but it is south-facing and is usually cooler than the rest of the house. For the first couple of weeks when starting seeds I add a heat lamp. I hang it in the greenhouse and turn it on for a few hours a day to keep the soil warm.
Click here to see how I built my Indoor Greenhouse by recycling old picture frames!
Every couple of days you should rotate the tray
Rotating will help the new plants grow up straight and strong. Unless you have the light source directly above the seeds, the new plant will grow up in the direction of the sun. If you have the strongest sun coming from the left side and don’t rotate the tray all your plants will be leaning toward the left. If you have multiple trays, like I do, rotate the locations of the trays to give all the seeds an equal chance at the best light.
Water your seeds as needed
To avoid disturbing the young seedlings you should pour water in your seed tray and allow the plants to absorb the water from the bottom up. Let the soil get dry from time to time, constant dampness is not good for germination. Additionally, constantly soggy peat pots coupled with close growing conditions in seed trays can be a perfect environment for fungus growth.
Air circulation
You want your seeds to grow into strong plants with strong stems to bear all those tasty fruits or vegetables. Having a tiny fan gently blowing on your seedlings will help mimic the winds they will eventually be experiencing outside. Adversity makes you stronger, right? Alternately you can brush your hand lightly over the seedlings a couple of times a day. Having proper air circulation will also cut down on any fungal growth.
Fertilizing your seedlings
When your seedlings first pop their heads out of the ground, the initial leaves they sprout are called seed leaves. They are like your child’s baby teeth. They serve the purpose of collecting sunlight (food) for the developing plant, but eventually, they will fall off and be replaced by permanent leaves. The permanent leaves usually look slightly different than the seed leaves so you won’t have a problem determining when this happens.
When the permanent leaves start to come in, it is time to add liquid fertilizer to the seedling’s water. Fertilize your growing plants every two weeks, with either store-bought liquid seed fertilizer or you can make your own compost tea using natural chicken manure (click here to learn how).
Thinning out
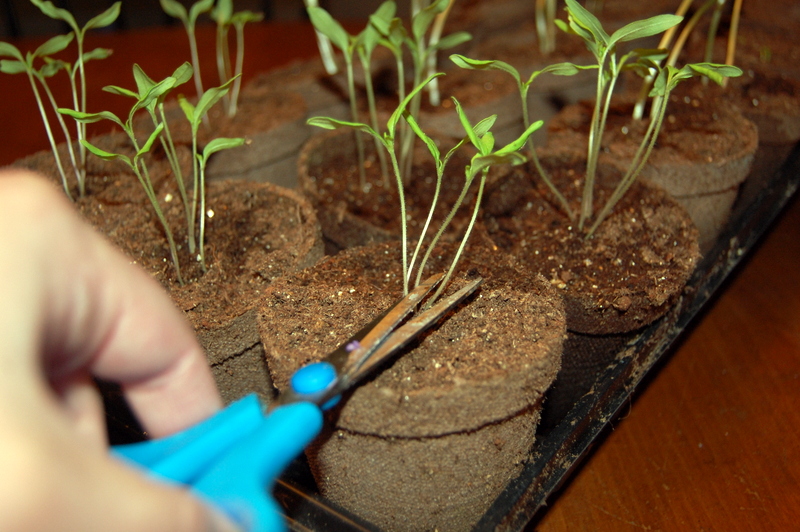
Only the strong can survive. When your plants are a few inches tall, you want to take some small scissors and snip off all extra seedlings that sprouted. Don’t be tempted to just pull out the extra plants, you don’t want to disrupt the delicate growing root system. Using scissors is the gentlest way to thin. Each pot should now have just 1 plant. If you leave multiple plants in each pot, they will be competing for resources and you will just end up with multiple weak plants. You can toss the thinned out sprouts in your salad, or feed them to the chickens.
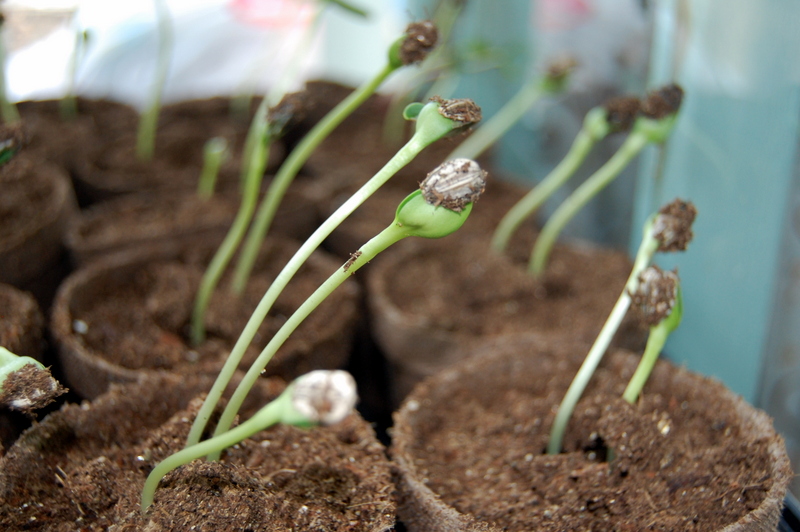
Seed Hulls
Sometimes (mostly with plants with large seeds, like sunflowers) the seedlings will sprout up and you will notice the seed hull is not falling off on its own. It’s a good idea to gently help the process along if the seedling gets to be a couple of inches tall and is still hanging onto its spent seed hull. If the leaves can’t unfurl from the seed, the plant can’t soak up nutrients from the sun. Gently pull the hull off being careful not to uproot the seedling or to crush the tiny leaves.
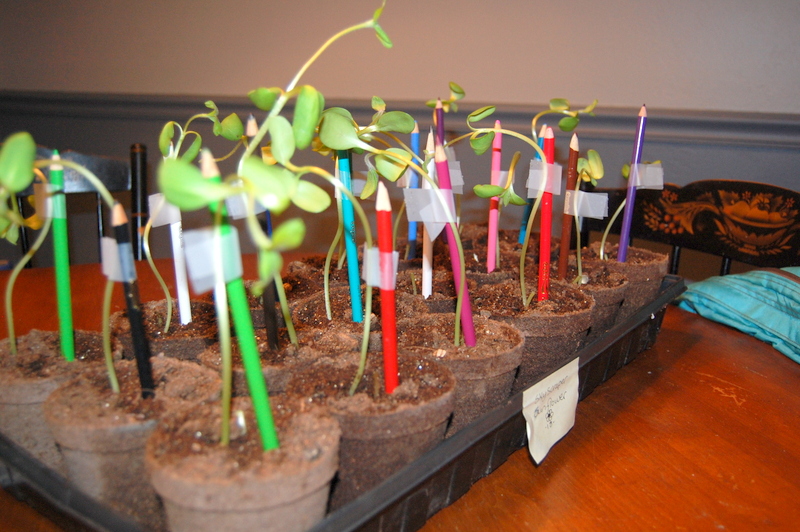
Provide Support
Some plants, like lettuce, are only destined to be a couple of inches tall, but others, like sunflowers, will tower over your head. The plants that have feet to grow rather than inches are likely to be quick growers and after a couple of weeks, they are going to need support to help them grow up straight. You can purchase plant supports, or fashion something on your own. Here I am using colored pencils and scotch tape to help support some Skyscraper Sunflowers.
Harden off your babies
Perhaps the most important part of growing seeds is preparing them to live outside full-time. You can forget the fertilizer. You could get by without a fan or fancy grow lights. But if you don’t harden off your plants and just transplant them directly to the garden you are pretty much guaranteed to have them die from transplant shock.
Start about two weeks before you anticipate transplanting your plants to the garden. Move your teenage plants outside. A semi-protected space against the side of your house is perfect. The first day give them just a couple of hours outdoors. Each day increase the time outdoors. This helps them gradually adjust to outdoor conditions before you kick them out for good and transplant them into the garden.
And that’s it! Before long those little seedlings will be giant plants providing food for your family!


Don
Tuesday 24th of April 2018
Thanks! I enjoyed reading this. Many forget hardening off. Whether planting in Northern states, or planting in Florida, it is important to give you seedlings a chance to adapt to the move. This applies to cuttings as well if you start them inside or outside. Avoid direct sunlight when moving outside or for first couple of weeks after planting cuttings. :)
Cery
Tuesday 27th of September 2016
I so LOVE that greenhouse!
Liz
Tuesday 27th of September 2016
Thanks! I made it using old picture frame glass. I love it too :)