---------------------------------------------------------
I won’t lie, after tending my garden all spring & summer I look forward to fall harvest and less outdoor chores (although that usually just means it’s time to see to the neglected indoor chores!). Here in the Northeast, our growing season is pretty short so the chilly air means it’s time to pack in the garden and prep for the snow to come. Taking the time to properly put your garden to “bed” for the winter is just as important as waking it up in the spring. So let’s get the garden ready for it’s long winter’s nap and ensure a fruitful harvest for next year!
Step 1: Harvest everything still growing
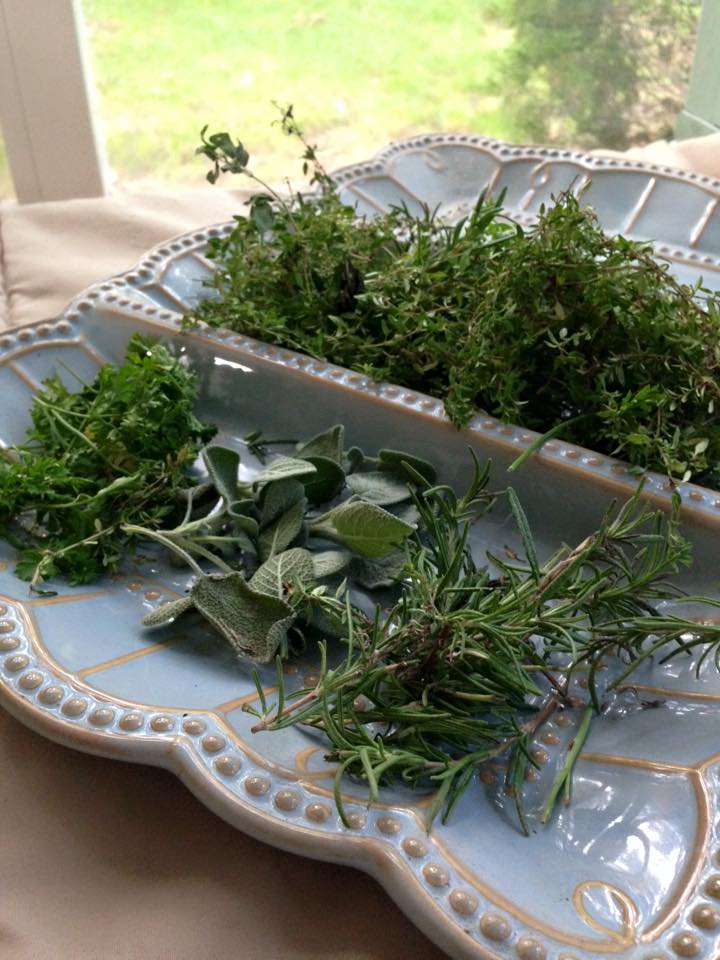
I’m looking at you tiny green tomatoes! It’s time for any last stragglers to be picked. Leave green tomatoes in a sunny window, they will ripen. Harvest sunflower heads and put them in a paper bag to dry out. Cut all your herbs down, either hang them to dry or freeze in oil for use in the winter. click here to read about preserving fresh herbs
Step 2: Cut down all plants
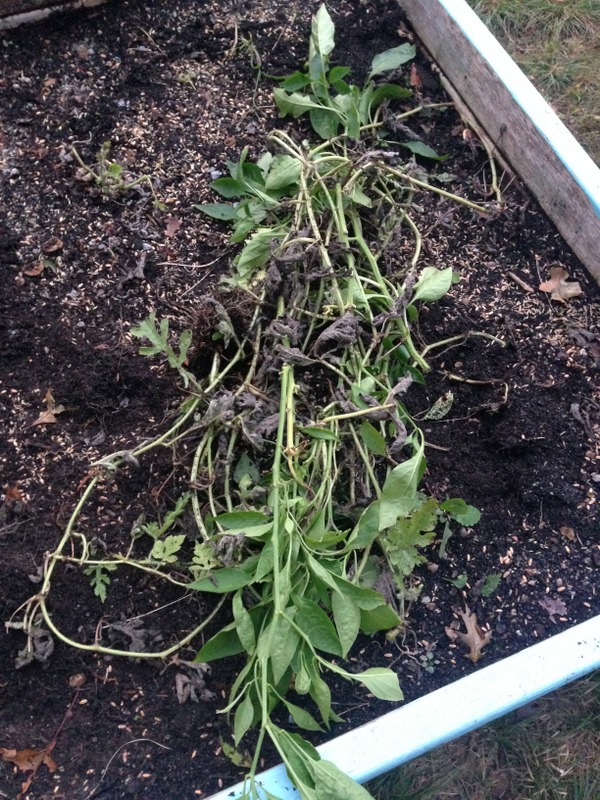
You can cut them with shears or pull out the roots, either way it’s time for them to go. Healthy plants can be added to your compost. If there were any signs of disease, put a plastic trash bag over the plant and carefully pull out by the roots. Throw the plant away. You don’t want the spores to get into the soil, or spread into your compost.
Step 3: Add compost
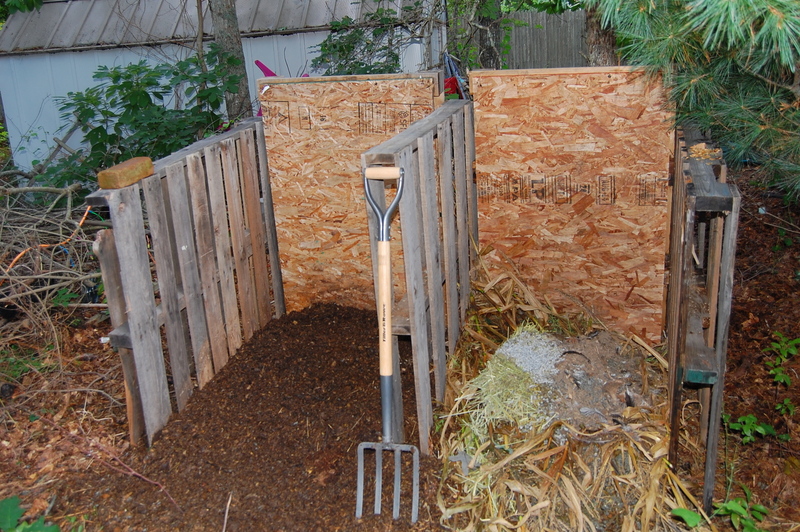
It’s finally time to use all that lovely compost that has been aging all summer! My compost bin is divided into two sides so that January-June I add materials to one side, let it age and add it to my fall garden. The other side I add materials to July-December, it composts over the winter, then I add it to my spring garden.

Step 4: Plant Cover Crops
What are cover crops? Cover crops are like organic soil magicians! Large scale farmers have been using cover crops for over a century, and it is something you can add to your garden too. Many home gardeners overlook this super easy but effective tool because they think they need special equipment to mow the crop under in spring, but you need nothing more than a shovel (although a tiller will make the job faster).
Cover crops can build fertile soil, suppress weeds and control disease. Depending on the type you choose to grow, they can also provide feed for your livestock. They are low care with high productivity, all while providing a natural way to build your soil health by fixing nitrogen levels with active organic matter.
The crops take in sunlight all winter and in turn disperse sugars & microorganisms through their roots into your soil. In the spring, you take the crops down before they flower or go to seed. You can do this by either mowing or using a weed wacker to take them down close to the soil surface. Leave the cut down crops on the soil surface for a day or two to dry slightly and then till (or dig) all that beautiful organic matter into the garden bed. Wait 2-3 weeks to allow the tilled in crops to start to decompose and your garden is good to go for the season.
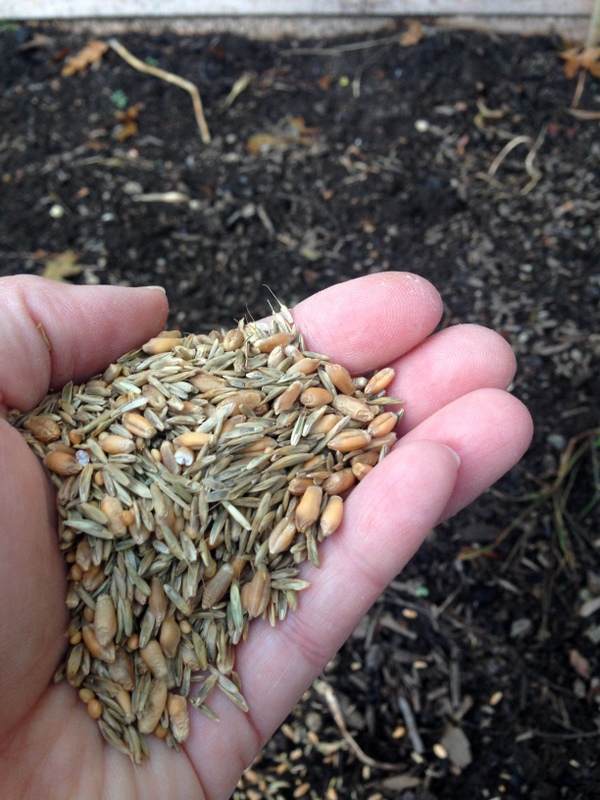
Choosing your crop: A quick google search for “cover crop” and your state should give you a good list of cover crops to grow in your area. Typically it will be a mix of grasses & legumes. You can also choose your crop by what it can do for your garden. If you are interested in weed suppression, a fast growing crop like buckwheat would be a good choice. If you want a nitrogen fixer, try a legume like hairy vetch or crimson clover. If you want livestock feed, wheat could be the crop for you. Rye grass is another popular cover crop as it is a good balance of fast growing, weed suppressor, and a nitrogen fixer. Many gardeners will go with a mix of seeds, using both grasses & legumes.
Where to buy seeds: As cover crop planting becomes more popular with backyard gardeners some nurseries are beginning to carry seed mixes. Online markets are of course another excellent source. I was able to order a 5 pound fall cover crop seed mix (rye grass, annual rye grass, crimson clover and orchard grass) for under $20 on Amazon and it was plenty to cover my entire vegetable garden.
Planting: You should aim to plant your cover crops about 4 weeks before the first frost date for your area. Lightly rake the garden bed to loosen the soil (or put your farm dog or chickens to work digging up those beds!). Spread the seeds and rake again to loosely cover the seeds. If you have free ranging chickens, try to keep them out of the garden for a couple weeks to allow the crop to establish itself. You can water them lightly if it is dry, but once a week until they are established should be sufficient. After the crop is a few inches tall, I like to mulch them with leaves. That’s it, then you just leave them to do their magic while you sip hot cocoa!
Step 5: Clean & Store Garden Tools
The last step is to take care of your garden tools. Use a wire brush and your hose to scrub off any dirt or rust. Damp or crusted on soil is the number one cause of rust on tools. Lay the tools to dry in the sun or use a rag to dry them and store them for the winter.
That’s it! All that’s left now is to start browsing seed catalogs and dreaming of spring!





Greg Sungreen
Thursday 16th of September 2021
The fall harvest, as mentioned here, is the best, in my opinion too. It just is easier at that time of the year to take upon the harvest process.
Liz
Monday 20th of September 2021
definitely my favorite!