---------------------------------------------------------
I love using the deep litter method for coop maintenance! Not only does it save you time but when properly implemented it gives you rich garden compost material, can help keep your flock healthy, and can even help keep them warm in winter.
What is Deep Litter Method?
Essentially, it is when you allow manure & bedding to accumulate and decompose, with proper management, inside your coop. It is like having your compost pile inside your chicken coop.
Isn’t it smelly?
Not at all. If you are doing it right, there should be no smell other than an earthy-compost smell. If you can smell ammonia you are not doing it right.
Isn’t it unhealthy to leave all that poop in there?
No! Actually the opposite is true. There are beneficial microbes that are eating and breaking down the manure. They will also eat and destroy some bad bacteria that can make your flock sick. It can help prevent (prevent, NOT treat) infestation of lice and mites. There is also evidence deep litter can help protect your flock from coccidiosis. Coccidiosis is a potentially deadly intestinal parasite, the good microbes in the deep litter will destroy the coccidia bacteria. Common treatment for coccidia includes spraying the coop with a 10% ammonia spray. The higher ammonia levels present in a deep litter coop would be unfavorable for growth in the first place. It is also thought that exposing brooding chicks to deep litter will help provide them some immunity from coccidiosis.
How can it help keep the flock warm?
Chicken manure is high in nitrogen, pine shaving are high in carbon. As the two mix and decompose they release heat. Your will find your deep litter coop will be about 10 degrees warmer than the outside air. That makes this method popular in northern climates especially n the winter.
Sold yet? Here’s how to properly maintain Deep Litter
Deep Litter is an easy way to maintain your chicken coop, but there are some important steps you have to take to make sure the balance of bacteria doesn’t go from good to bad. If you were to just toss a thick layer of shavings in the coop and let the manure accumulate, eventually the manure would outnumber the shavings. The composition will be off, everything will be damp & humid, high ammonia levels could threaten the health or lives of your flock and bad bacteria will infect your chickens.
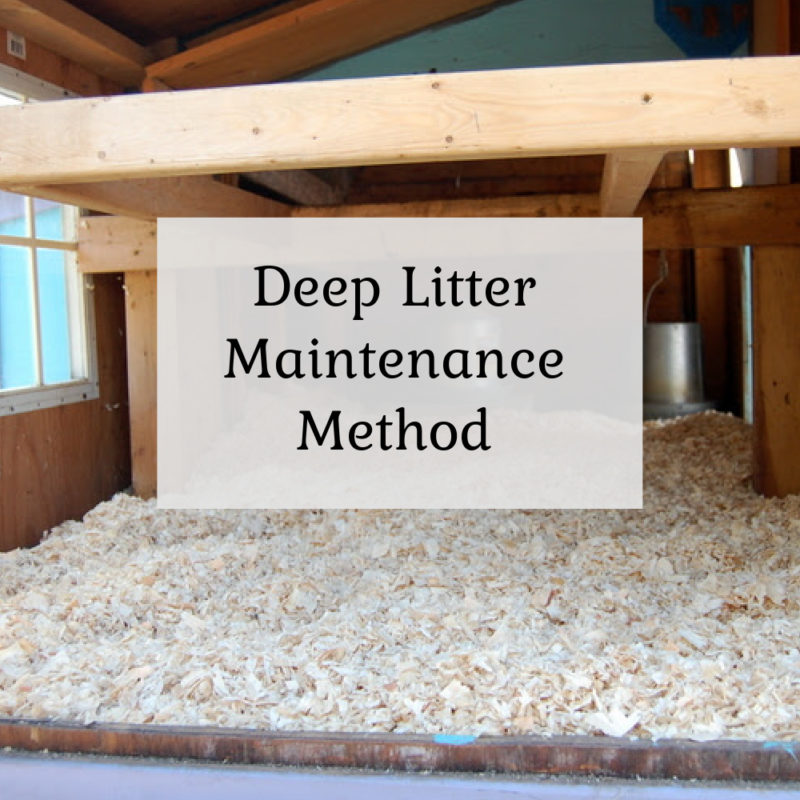
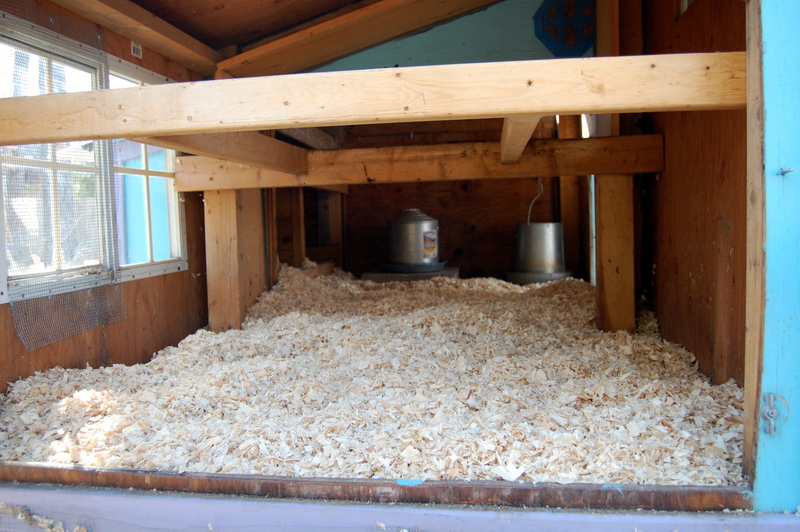
To start, spread a layer about 3-4 inches deep of pine shavings. You want to use pine shavings to get started because they will decompose quickly and won’t harbor mold or fungus that could be present in hay or straw. After this initial layer you can switch to hay or straw for the top layers if you want, but I personally think pine shavings work the best because they decompose the most thoroughly.
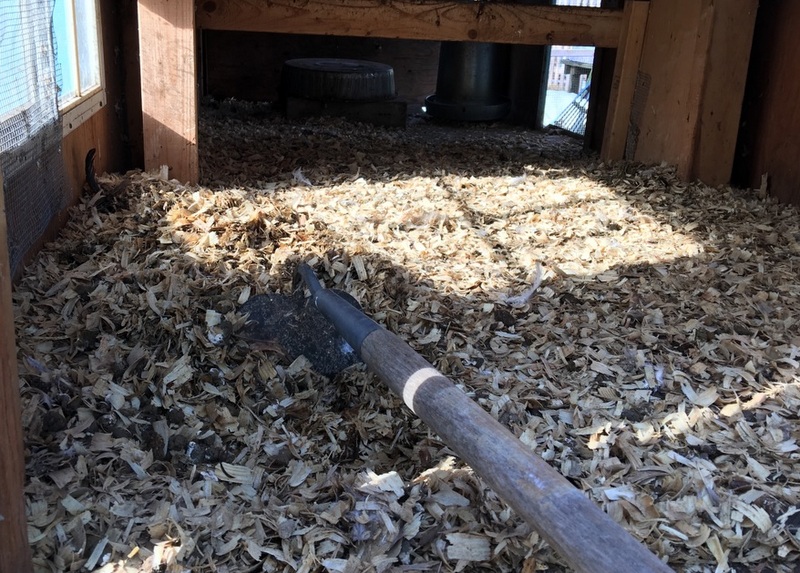
Twice a week, take a hoe and thoroughly stir all the shaving up. You can also employ your chickens to help with the stirring process. If you toss some scratch or food scraps in the coop it will encourage them to scratch and dig. I wouldn’t rely entirely on the chickens to stir everything. It is an important step, stirring introduces oxygen to the composting bedding which will aid decomposition and prevent the build up of ammonia fumes. Ammonia fumes can cause eye & lung irritation in your flock, and in extreme cases can lead to death. Also, chicken manure is about 85% water. Too many droppings sitting on top of the bedding without being stirred in is going to raise the humidity of your coop, which can lead to frostbite in the winter. It’s too important a step to leave to the chickens and it only takes a few minutes to stir up the coop.
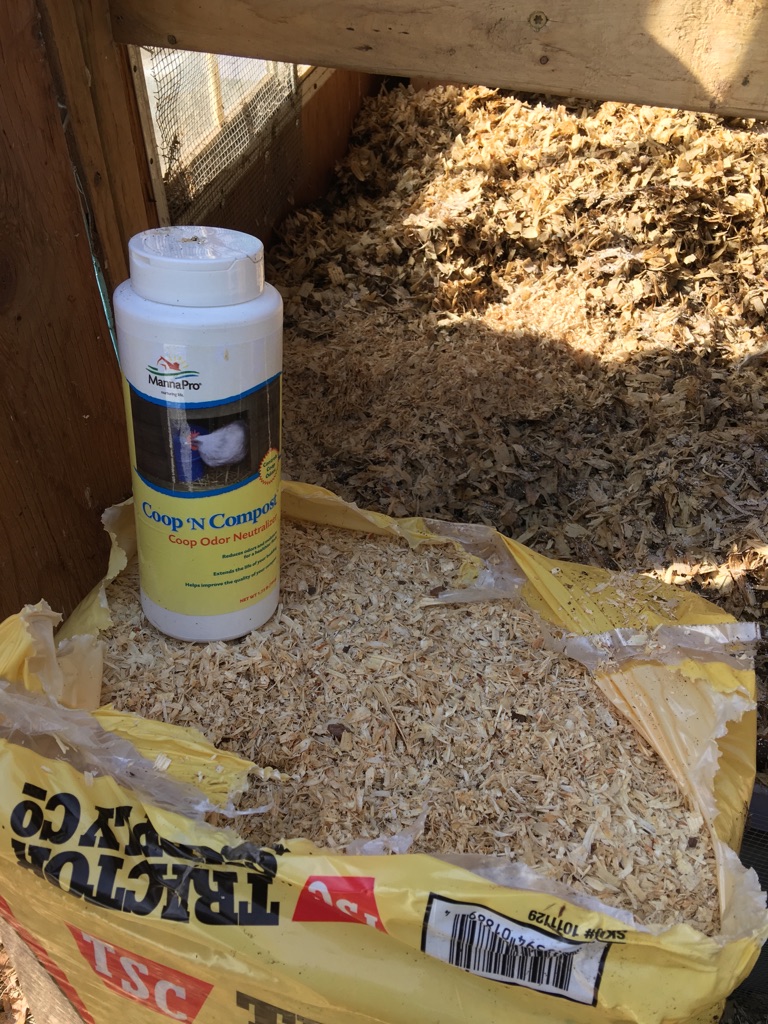
Once a week, add more bedding to keep the manure/bedding levels balanced. It doesn’t have to be a thick layer, I just toss in enough for a thin cover and then stir it up. I also sprinkle in some Coop & Compost or Sweet Pdz Stall Refresher at this time. Made with naturally occurring zeolites, it helps hasten composting and neutralizes excessive ammonia build ups.
If you end up with more than 8-12 inches of bedding on the floor, scoop some off the top and toss it in your compost pile.
Twice a year (spring & fall) I completely empty my coop (Click here for my tips on deep cleaning the coop) toss the bedding in the compost pile, clean the coop and start over. Many people using Deep Litter only clean out once a year in the spring. Some will never completely empty it, leaving that bottom “hot” layer of compost on the floor at all times as a “starter culture” to jump start the new layers. Do what works for you.
Helpful tips to keep in mind
I add the Coop & Compost once a week, but that is totally optional. The one thing you don’t want to add is DE (diatomaceous earth) or any other insecticide. These products are made to kill insects & bacteria, but they will kill off the good bacteria & other microbes that you want in there to aid composting.
Good ventilation is SUPER IMPORTANT. Make sure your coop is well ventilated, all that composting manure is going to produce ammonia fumes & humidity, both of which are not good for your flock. If there is condensation forming on the windows of your coop, you have a ventilation problem. A great way to test your ventilation levels is to monitor the humidity levels in your coop. You want to keep it between 40% – 70%.
Pay attention to the litter conditions on the floor. You want it to be dry & look absorbent. If it looks muddy, pasty, or caked on, the balance if off. Add some more shavings and stir the litter up.
Remember that chicken manure is “hot” compost, which means it needs to age at least 6 months before adding it to your garden. When you empty your coop, some of that manure will be 6 months old, but some of it will be brand new, so it still needs to go into the compost bin before being added to your garden.




Lea Caswell
Friday 4th of June 2021
I live in Charleston, SC but really want to do the Deep Litter Method. We will be getting our slightly older girls in the next few weeks- any tips on how to maintain the deep litter method with high humidity? Thank you!
Liz
Sunday 6th of June 2021
I also live where the humidity is high. It is just important to make sure you are turning over the litter frequently. The stuff on the bottom layer can get overly soggy when the humidity gets high, which will not only smell bad but also ruin the composting environment you are trying to create.
Rachel Britts
Saturday 17th of October 2020
Hi! Thanks for your helpful post! We got 11 chicks in June. Started the deep litter method about 7 weeks ago, using pine mulch from a local arborist (trying to be resourceful). It was going so great! Smelled great! So much easier! And excited to be producing something for my garden! Then...A couple weeks ago we discovered some type of mite infesting it. We can’t walk into the coop without getting swarmed up the legs and my daughters and I are getting bit like crazy (my son and husband not, for some reason). The chickens seem unaffected according to the normal chicken mite symptoms I’ve read about...but I can’t imagine the mites are leaving them alone. I ordered some Permethrin and I’m ready to deep clean out the coop and spray it like crazy and use the powder treatment on my chickens. But I’m totally discouraged about the deep litter method. After a few weeks of treatments, am I just going to open the doors for the mites to return in a never ending vicious cycle? Should I destroy my current mulch bedding instead of using it on my garden? Is the arborist chips/mulch the problem? We have a 4x12 coop, so I hate the idea of spending that much money on packaged shavings. I’m so discouraged. And irritated. Do you have any thoughts or suggestions???
Liz
Sunday 18th of October 2020
That is terrible!! Have you checked your chickens for mites? Part their feathers to look down to the skin (particularly under the wing, near their vent), they are really tiny but most types of mites you can see (click here for my article on mites -https://thecapecoop.com/mites-lice-chickens/) . The mite that most often lives in the coop as opposed to on the bird is the red mite. The thing with red mites is they mostly come out at night. They hide in the coop/shavings and then feed at night when the birds are roosting. It doesn't sound like that is what is going on here, unless you and your daughters are out there at night. And you said your birds don't seem to be showing signs of infestation. I have a feeling there is some sort of biting insect that was in the mulch you got. It might not be mites. Definitely completely empty your coop and give it a good scrubbing. If possible, before treating your flock try to identify the type of insect you are dealing with. If it's not something infesting your birds, you might be able to avoid treating them. Have you asked the arborist if they have any ideas on what the insect could be? I have never had an infestation that involved bugs biting any of the humans in my family. I really suspect you are dealing with something that was in the mulch. I am sorry you are dealing with this, definitely no fun. I hope you get it sorted out soon!
Marty
Monday 28th of September 2020
Hi, I got my first batch of chickens in late July and am trying out the deep litter method. I currently have 4 hens in an 8x8 coop with 4"-6" of pine shavings.
When standing in the coop everything smells normal and seems dry, but I when I mix the litter (several times a week) I do faintly notice ammonia. Is this expected when I stir the litter? Presumably because I'm giving any buried ammonia buildup a chance to escape. Or is it a sign that I do not have enough litter and/or need to clean out the coop completely and start again?
Any advice would be greatly appreciated!
Liz
Monday 28th of September 2020
Yes when you stir it up it's normal to get some whiffs of ammonia as you stir it around. But you shouldn't smell it just normally standing in the coop. So you are doing great!
Sam
Saturday 11th of July 2020
We have a small coop and are looking at using deep litter method. What I’m not sure about is how much chicken waste per sq.ft it can deal with? If a chicken produces 1 cubic foot of waste per month how many sq.ft of deep litter area do we need to prevent odour?
Liz
Saturday 11th of July 2020
I don't think I have ever calculated out the math, but in deep litter method you are going to have decomposing waste of all stages. The older, more composted stuff will take up less space. The best way to prevent odor is to stir the litter a couple times per week, and when you notice the balance of clean litter & composted materials is starting to get off you add more litter. We moved recently and the house has a barn for the girls to live in but when I had my old coop, it was 4 feet x 8 feet and we had up to 12 chickens in there at times. I would stir the litter a couple times a week and probably once a week I would add a few handfuls of fresh litter. As long as your litter to manure ratio is good, there will not be a chicken poop ammonia smell -it should be an earthy compost like smell
Donna Schroeder
Saturday 30th of May 2020
I live in Texas so extra heat during summer is not good but can I use cedar shavings?
Liz
Saturday 30th of May 2020
Cedar shavings should not be used with chickens, they are toxic to chickens and can effect their respiratory system