
---------------------------------------------------------
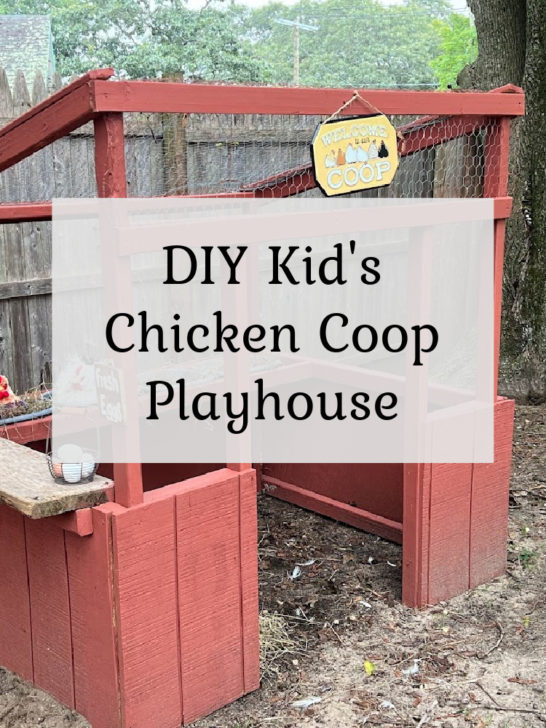
We host several events for families on our farm each year, plus I have a toddler grandson that visits weekly and loves to play outside. I wanted to add a little playset to the yard for kids, but I wanted it to be farm themed. Kids love farms, so I was surprised when I looked around the internet and couldn’t find much! Of course, my immediate next step was to pull out my graph paper and get to work on plans to build something!
I wanted to keep it easy to build and affordable – it didn’t need to be fancy, just somewhere kids could play pretend that is a little cleaner than a real chicken coop. I am by no means a professional builder. If you have a working knowledge of power tools this should be an easy DIY for you. The materials cost me just about $100 and for the accessories I used several things I already had but spent probably another $50. I think it came out super cute!!
Materials needed to build Chicken Coop Playhouse
- 14 – 2x3x8 lumber
- a box of 2.5 inch screws
- 1 – 2×10 board about 3 feet long
- 1 – 4×8 sheet of T1-11 siding (or plywood)
- Chicken Wire for roof (optional)
- 5 – 1x2x8 (if you use chicken wire for roof)
- Paint
Accessories I used for my Chicken Coop Playhouse
- Stuffed Chicken Toys
- 4 plastic dishpans that have a lip
- 1 wooden craft sign
- 1 tin “chicken coop” sign
- fake eggs
- mini egg collecting baskets
- egg cartons
Building the Chicken Coop Playset
I am a visual learner so I hope these diagrams make sense to you! I always like to cut as I go, but if you want to pre-cut your pieces, here is a cut list for the 2x3s (in inches). You should have 22 pieces: 60, 60, 56, 56, 56, 53, 53, 53, 50, 50, 48, 48, 48, 48, 48, 48, 48, 48, 12, 12, 12, 12.

First, I assembled the front of the playset. All the measurements pictured in the photos are in inches. The lower 24 inches of the frame will be covered with siding. To support the siding, position the horizontal 12-inch piece so the top of the piece is 24 inches from the bottom of the frame.
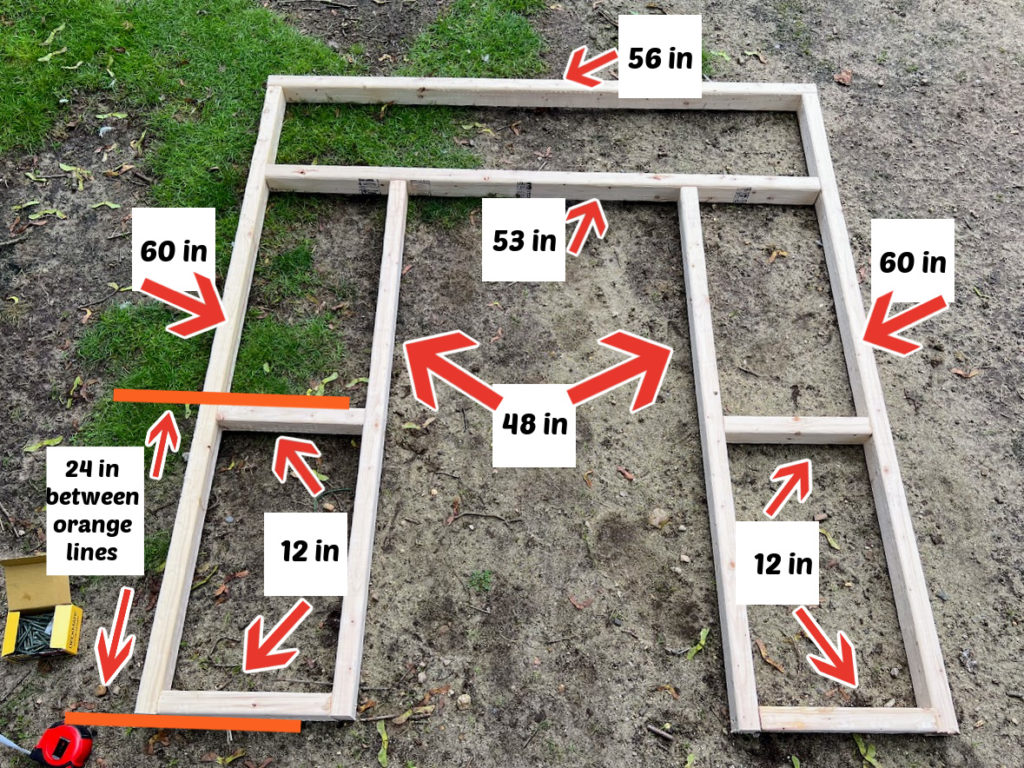
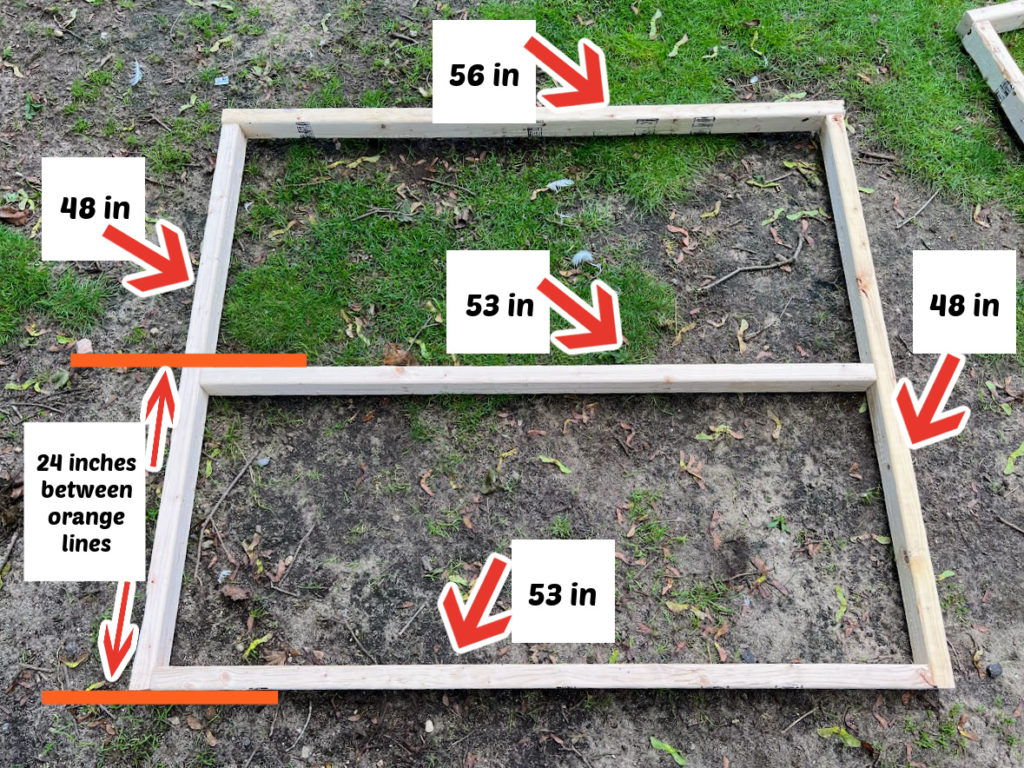
Well done! Assembling the front is the hardest part – it’s all easy from here out. Next, I assembled the back of the playset. The 53-inch horizontal piece in the middle will support the siding in the back, the top of the piece should be 24 inches from the bottom of the frame.
For the next part, it will be much easier if you have a helper available for assembly. Have your helper stand up the front frame and back frame. Screw a 48-inch piece to connect the front and back frames at the bottom and another at 24 inches up from the bottom. Repeat on the other side.
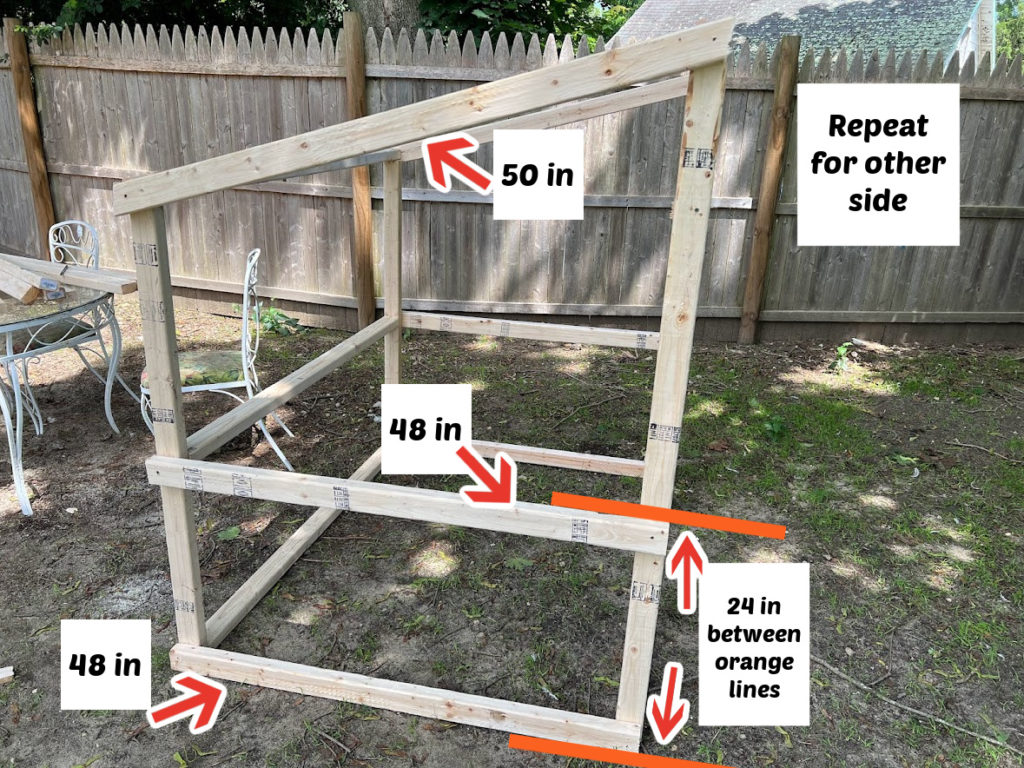
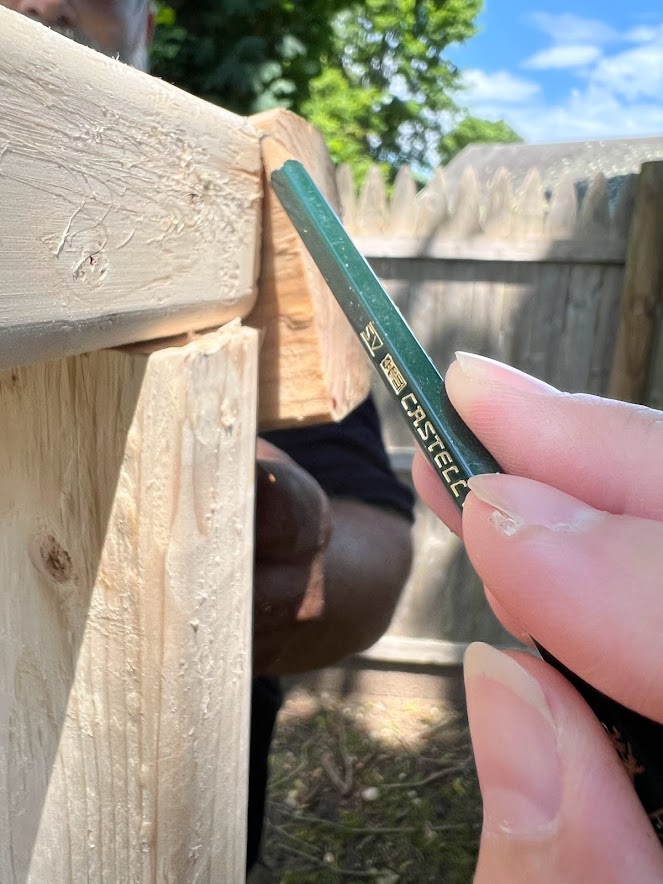
For the top of the side framing, you will need to cut the piece at an angle to follow the roof slope. I am sure there is a tool you can use to get this precise cut, but I am not fancy like that. What I did was cut a 50-inch piece, then I had my helper hold the board in place while I used a pencil to mark the angle, then cut the marked angle.
Adding the chicken wire roof
Now that the framing is done, it’s time to add the “roof”. You could just leave the roof open, you could use plywood, or metal or plastic roof panels to cover it. I decided to use chicken wire because I already had plenty of that on hand and I thought it would look cute. I screwed the chicken wire in so that it covered the “roof” and also brought it down the front of the framing so that it covered the area over the doorway. The piece of chicken wire was 4 feet wide by 64 inches long.
The chicken wire is up pretty high for little kids to reach, but I didn’t want older kids or adults to get snagged on the sharp wire edges. I used the 1x2x8 trim boards to cover up the edges of the wire and make it look more “finished”.
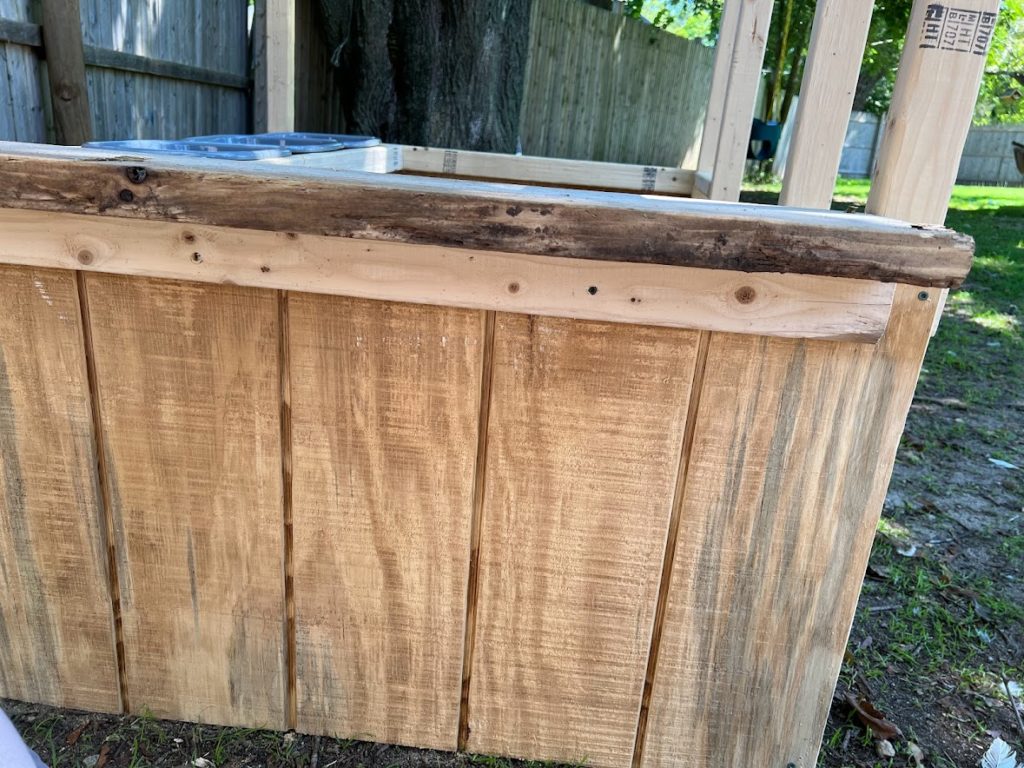
Before installing the siding you will want to install the bar that supports the chicken “nest boxes”. Measure the dishpans that you got for this to get the spacing correct. For the dishpans I used, I needed a 10.25 inch gap so that the dishpan can rest on its lip between the back wall and the bar. The piece should be 56 inches long to screw into the framing on each side.

Installing the Chicken Coop Playset siding
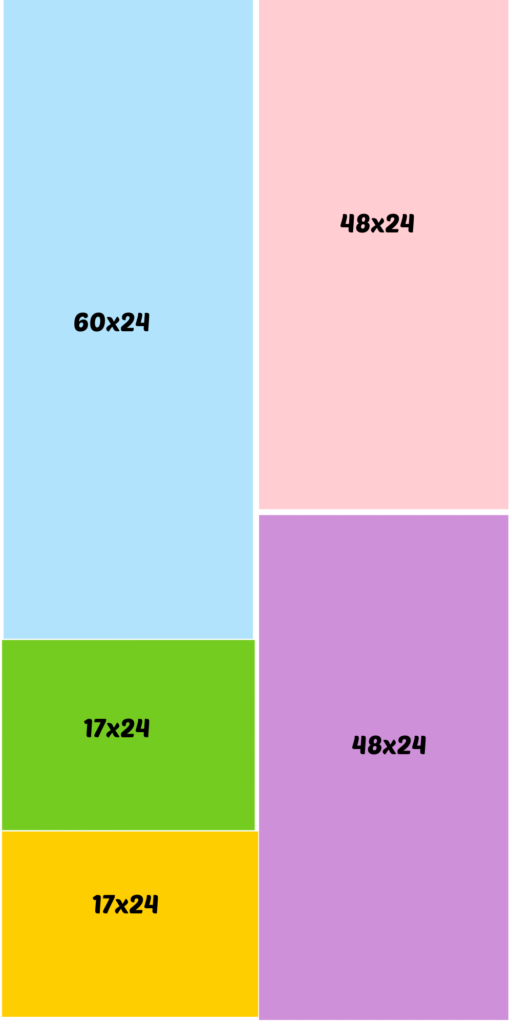
Next, we will add the siding. If you lay out your cuts properly you can do all of the siding from one 4×8 standard sheet. I used T1-11 siding, textured siding that has a beaded grove. It has a nice rustic look and it matches the siding on my barn. If you use T1-11 be sure you are paying attention to which way the beading runs when planning your cuts so that the beads are all running the same way! You could also use a regular plywood sheet.
The siding pieces you will need to cut are:
- 60 in x 24 in (for the back)
- 48 in x 24 in (for the right side)
- 48 in x 24 in (for the left side)
- 17 in x 24 in (for the right front)
- 17 in x 24 in (for the left front)
Simply screw the siding to the framing. Attach the side pieces first and then add the back and front. This way the front and back pieces can overlap the side piece edges, covering any gaps. If you are feeling fancy, you can use 1x2s to cover the corners as trim. I didn’t do that, but it would make it look more finished.
In case you are having a hard time visualizing how to fit the cuts onto one siding piece, it should look like this.
Finishing touches
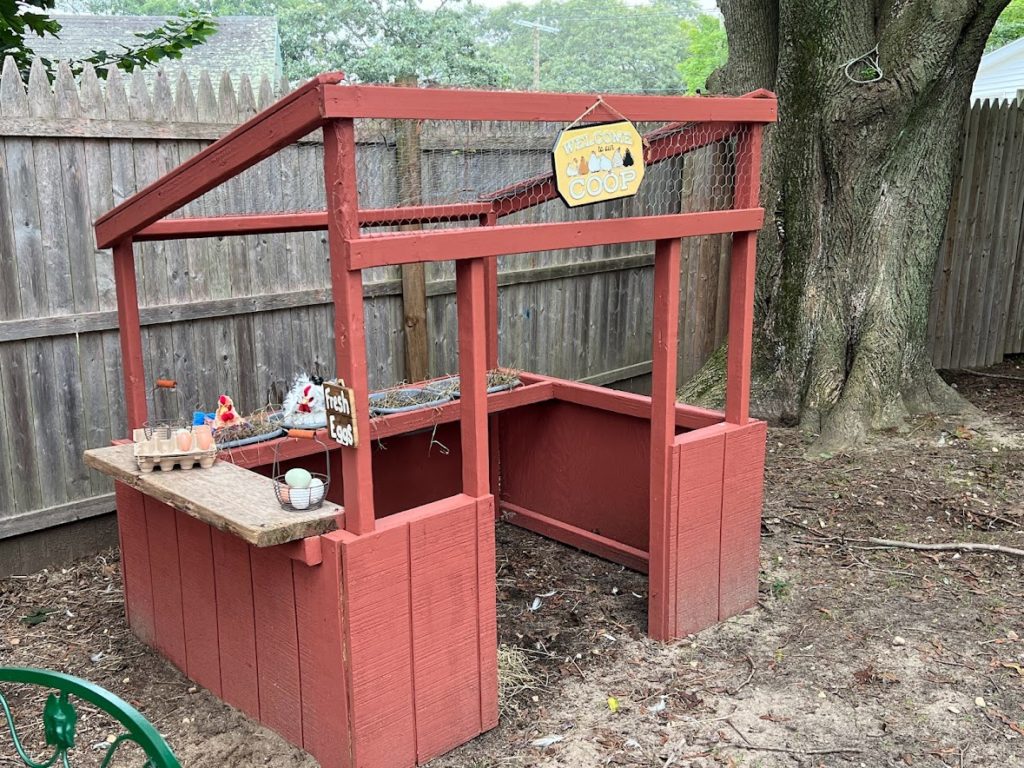
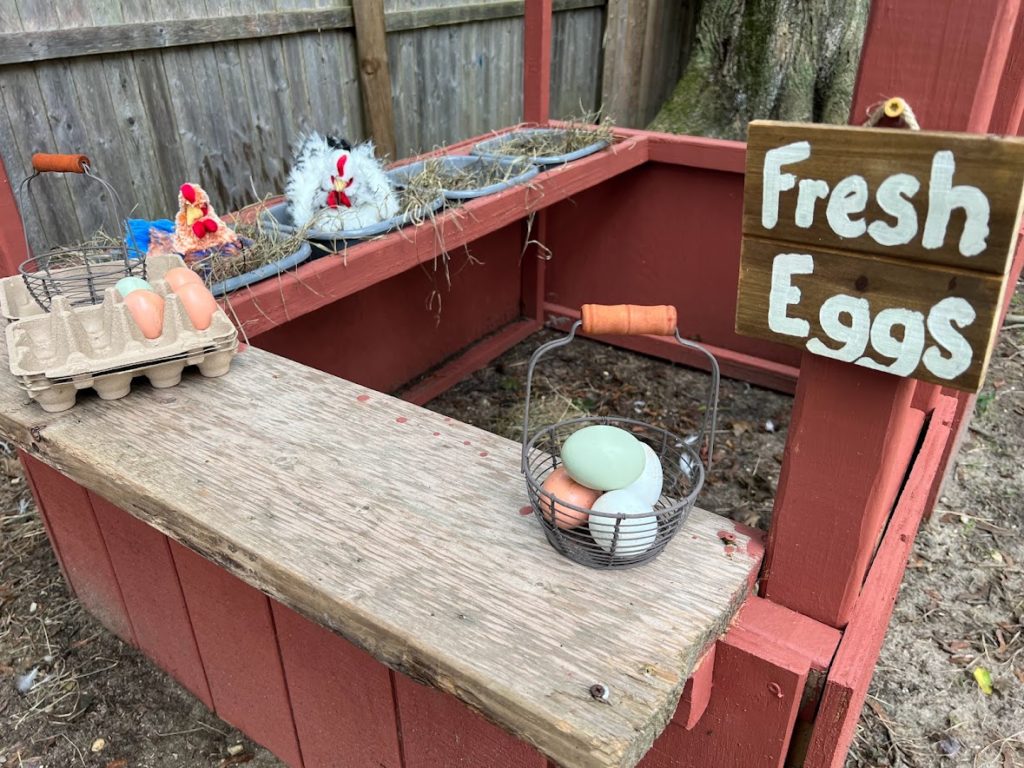
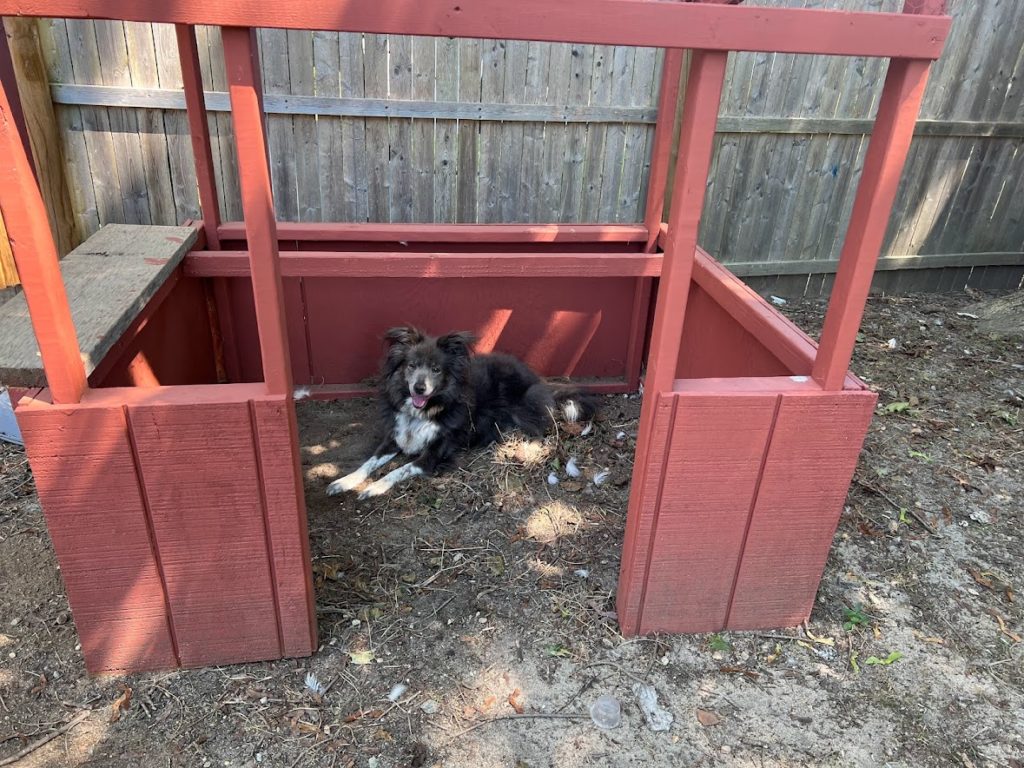
All that is left now is to add the finishing touches. I added a shelf to one side of the coop for an “egg stand”. It was just a scrap board that I already had. It is a 2×10 that is 36 inches long. I screwed it from the top into the side “window” area and also added a scrap piece of 2×3 underneath to support it just in case a child sat on it.
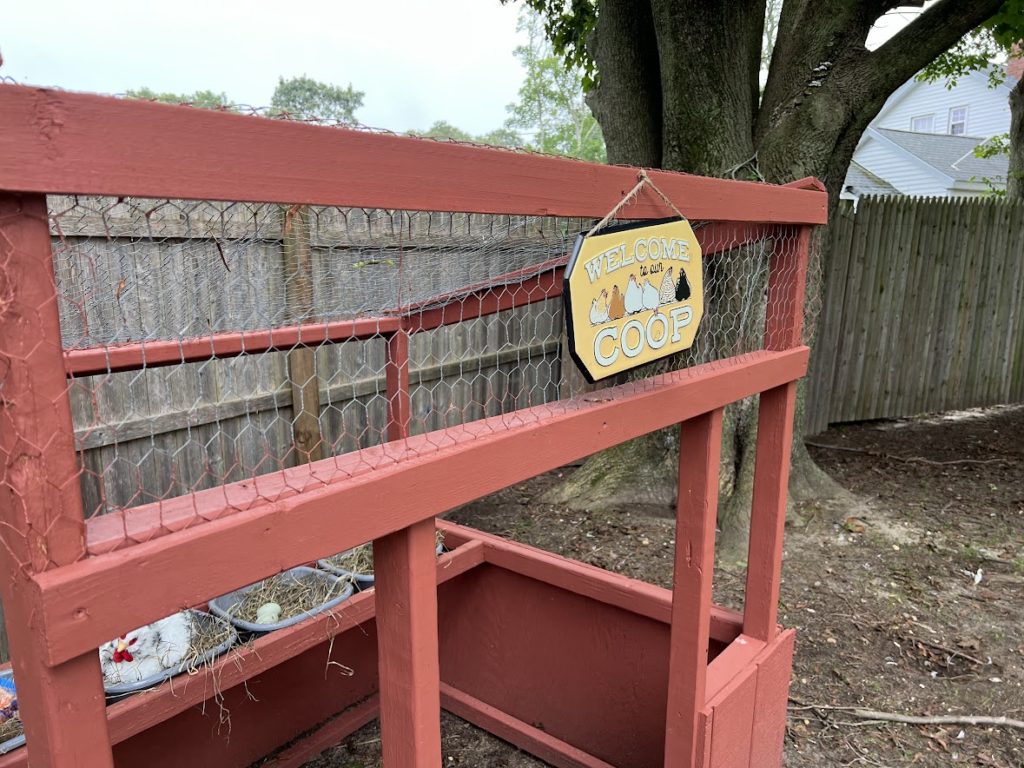
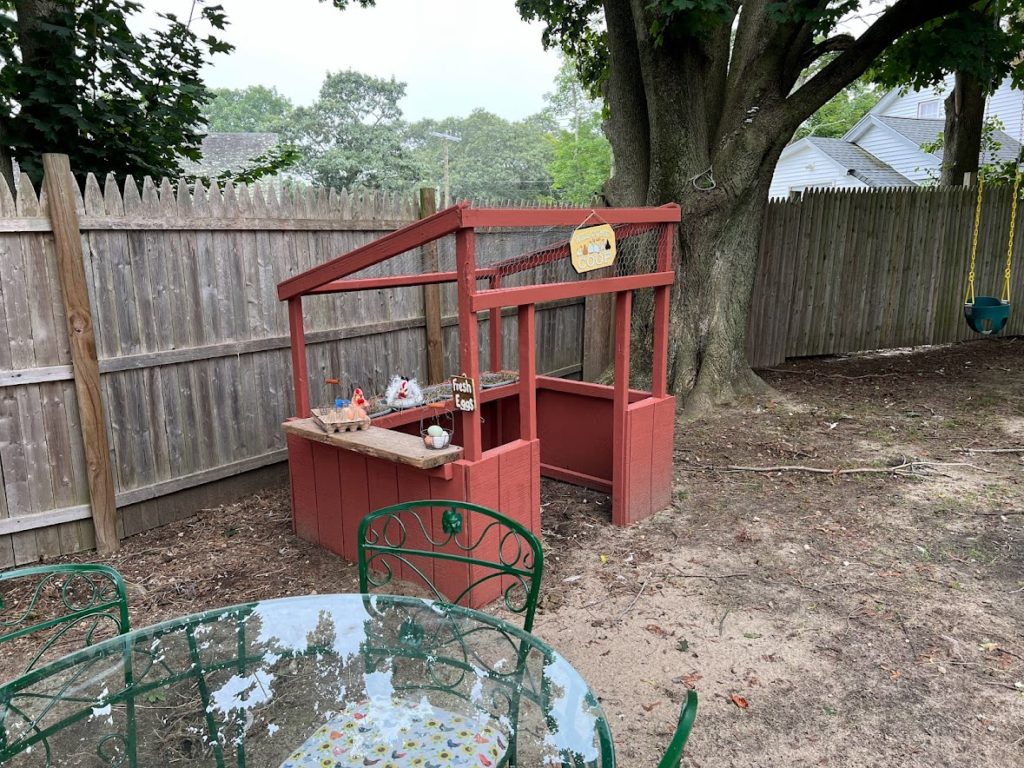
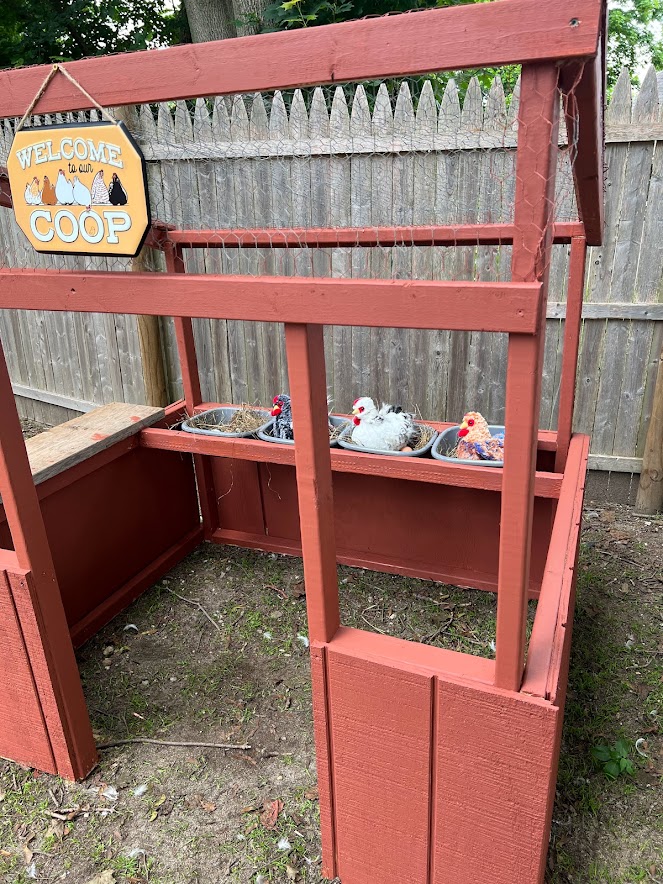
I painted the playset in a faded red that I colored matched to my old barn. The accessories are the most fun part, they really help this chicken coop come to life! I found a metal “Welcome to our Coop” sign at Tractor Supply for the front over the door. I bought a little blank wooden sign from a craft store and painted “Fresh Eggs” on it.
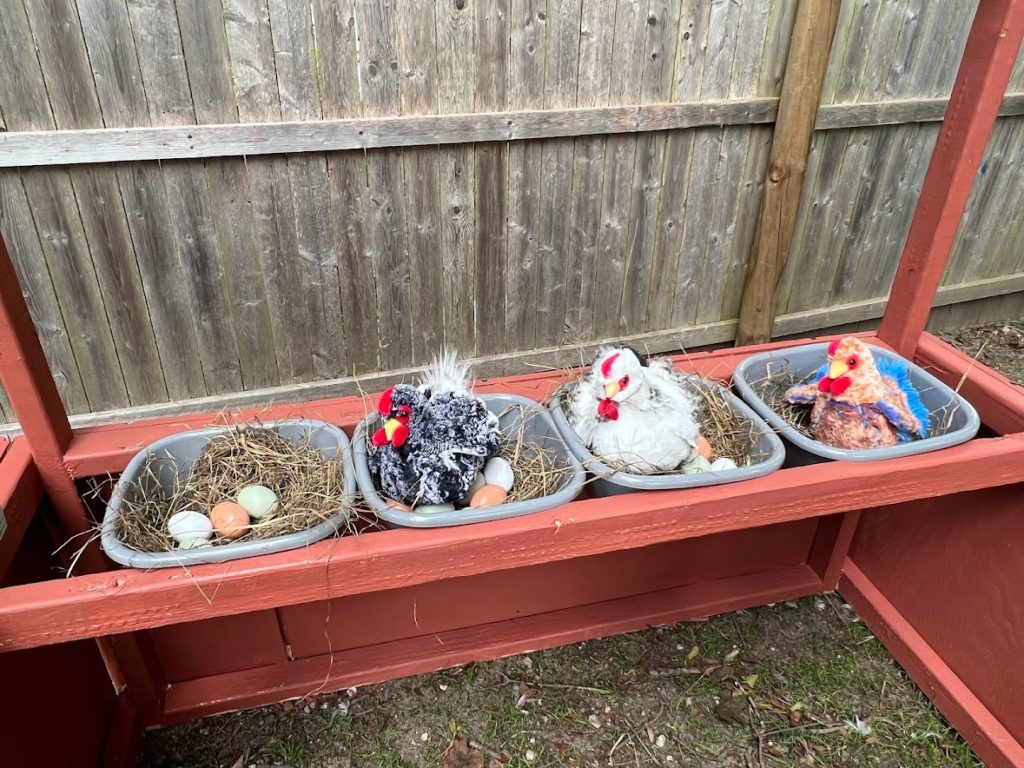
Plastic dishpans go along the back rail for nest boxes (I highly recommend you drill some drainage holes in the bottom of these pans). Then I added some hay and the stuffed toy chickens along with fake wooden eggs I found online. Some cute, child-size egg collecting baskets and empty egg cartons aid in pretending to collect and sell eggs. I plan on hanging a small chicken feeder on the side opposite the egg counter so kids can pretend to feed the birds. Since I don’t have small children here all the time, I take the accessories indoors when they aren’t being used. But you could add a large waterproof bin under the nest boxes to keep the accessories in so they don’t get wet in between uses.
I hope you like my DIY Chicken Coop Playset. What other accessories do you think would be fun to add? I think next year some window boxes for the front would be adorable!

Nacy @Little homestead in boise
Monday 21st of August 2023
How cute!!!
Liz
Tuesday 22nd of August 2023
thank you!