---------------------------------------------------------
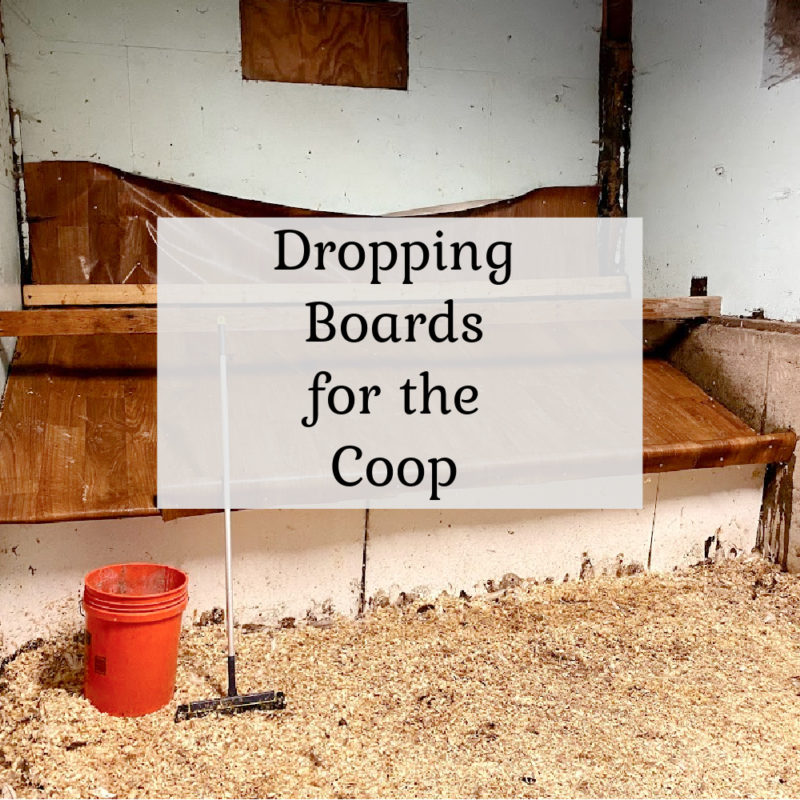
Ok this is not the most glamourous post I’ve ever written, in fact be prepared for some gross pics. But keeping chickens isn’t just well framed Instagram shots! A big part of keeping your flock healthy and happy involves keeping your coop as clean as possible. This can seem like an uphill battle. Generally during the daylight hours your flock has a larger area to roam, either by free ranging or in a secured run. Their droppings get spread over a larger area and all the scratching chickens help to break down all the poop.
But during the night when your flock is safely locked in their coop, the poop can pile up. Chickens can’t see very well in the dark. For the most part this means they hop up on their roosts and stay there all night long. The area under the roosts is going to be the messiest in the coop, with a concentrated amount of manure dropped in the same spot each night.
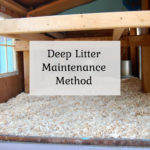
In the past I have employed the deep litter method of coop maintenance (click here to read about this). Deep litter is an easy way to keep your coop clean by basically composting the manure and shaving together right there in the coop. It works great when you have a small, well ventilated coop. When we moved to our new house, our chickens moved into a 300 square foot barn and using deep litter wasn’t a practical option anymore.

When you have a larger coop, the best way to handle manure is to have dropping boards under the roosts. You could do it in a smaller “reach in” coop, but it’s easiest if you have a chicken coop that you can walk into.
What are Dropping Boards?
Dropping boards can take a lot of forms, but they are basically just a shelf placed under the roosts to collect all the droppings that happen while your flock is sleeping. They are easy to clean up daily, limiting the amount of manure sitting in the coop. Too much manure in the coop not only makes for a smelly coop, it can be unhealthy for your chickens. Chicken droppings are very high in ammonia. Breathing that in while stuck in a small space can cause respiratory issues for your flock, and all that moisture leaves them open to frostbite in the winter. Additionally dropping boards mean less time and money spent on shavings because the floor of the coop stays cleaner longer.
Dropping boards can take a lot of forms, depending on your roost set up and how much space you have. Some chicken keepers use a plastic tarp under the roosts to make a “poop hammock”.
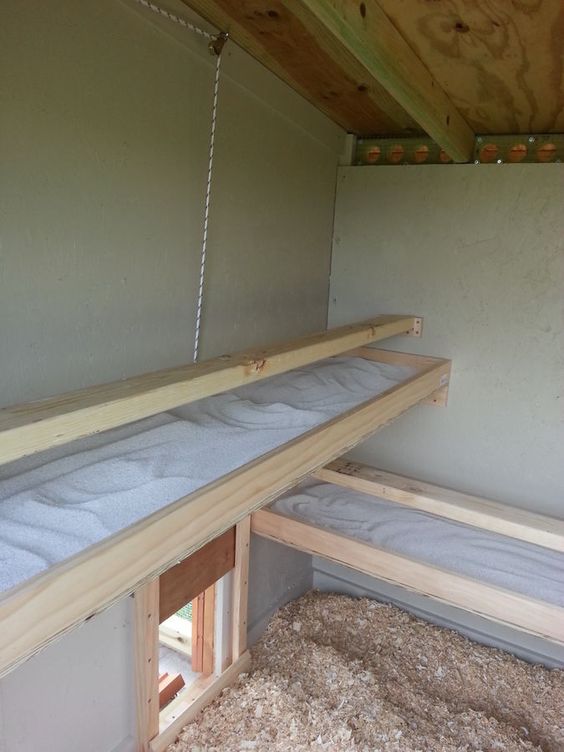
Some people build a shelf with a lip so they can fill the shelf with a litter material. Then you can sift through the litter shelf daily like a cat litter box. Litter ideas include sand, sweet pdz horse stall or coop refresher, or pine shavings.
Initial Missteps installing Dropping Boards in our Coop

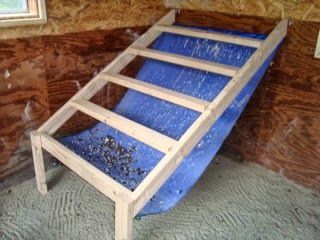
For our coop, we decided to go with the traditional board idea. The roost area is 10 feet wide and about 6 feet deep with one low roost and two higher ones. We angled the board in hopes that the droppings would “roll” down to the bottom. At the bottom of the board, we used a 2×4 as a collection lip to catch all the rolling poop. We left the lip off one end of the bottom where we could put a collection bucket. I wanted to block off the space underneath the dropping board because the ducks will definitely go under there, laying eggs I can’t reach and pooping where it’s hard to clean. I knew using raw plywood would be a bad idea and that we needed something more non-stick. I got some high gloss exterior latex paint and covered the boards with three coats.
Where we went wrong
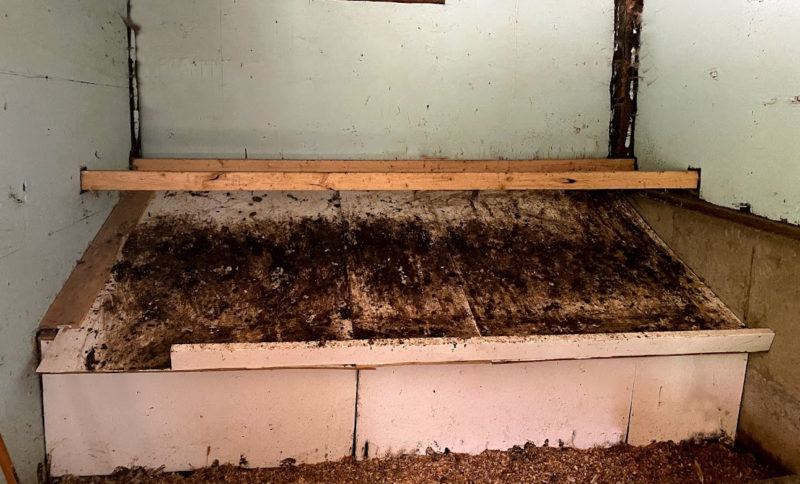
It didn’t take long for us to figure out this wasn’t working. The poop doesn’t “roll” because it’s moist when dropped to the board. While the painted board was better than raw plywood because at least it wasn’t porous, it was far from ideal. When scrapping off the board each day, more and more poop was just smeared around. It was super disgusting! After just a week it looked like this:
Another initial misstep was in the tool we used to scrap the droppings off the board. We had an old push broom that we hoped we could use to just “sweep” up the poop. That was a terrible idea. Within a few weeks the broom bristles were just a solid clump despite us regularly rinsing it with the hose.
Dropping boards – Take Two!
We clearly needed something easier to clean! We went to our local home store and purchased a 7 foot x 12 foot piece of sheet flooring vinyl. Even with the large area we had to cover it only cost about $80.
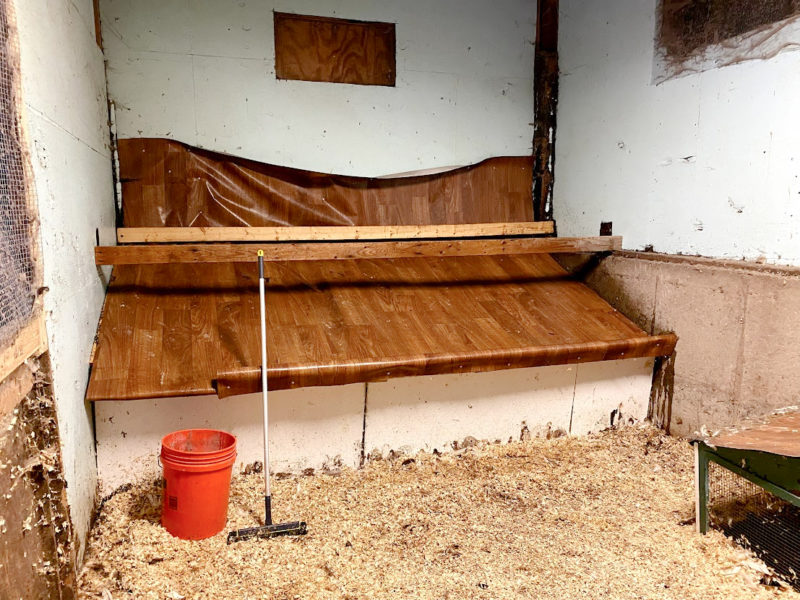
With the wood dropping boards already in place it was going to be tricky to reach all the way to the back wall to attach the vinyl to the wall. We did the best we could, but it’s pretty uneven, it might not be pretty but it’s very effective! We ran the vinyl from the back wall, down the boards, and over the collection lip at the base. Sheet vinyl is easy to cut to size with an utility knife. We used large washers and screws to attach the vinyl to the wall and wooden dropping board.
For the scraping tool I purchased a long handled squeegee.
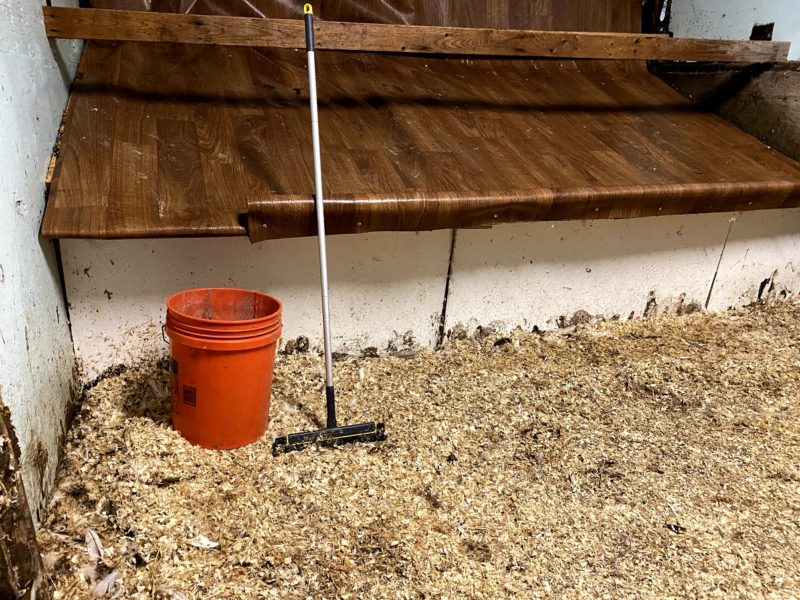
Now I LOVE my dropping board! The droppings don’t stick to the vinyl and the squeegee is great for scraping them down to the collection lip. It takes me just minutes to push the droppings to the collection lip then push them all over to the opening and into a bucket. The bucket goes out to the compost every day and my coop stays nice and clean!
After about a month, the vinyl had some lingering “smears” (but nothing even close to what we had with the painted wood). I pulled the hose into the coop and used the squeegee & a little dish detergent to clean it, collecting the waste water in the bucket. The vinyl looked brand new!
So with just a minute or two each day and maybe 10 minutes a month to wash the dropping board, I have drastically decreased the amount of manure in my coop! If you have the space I highly recommend adding dropping boards to your coop!
nancy
Friday 3rd of September 2021
Great idea with the vinyl! We do use pine shavings that are smaller Coop and we have a Shelf with a elevated roosting perch above it, I use an old fashioned metal serrated serving spoon and clean it off a few times a week. Works great!
Paul E
Friday 3rd of September 2021
Great Job Liz!!! It looks very nice, functional, and sanitary.
I use Plas-Tex paneling… Home depot sells it in 4’ x 8’ panels for $28 per sheet and it can be glued and/or screwed to just about anything. If you caulk the seams, you can hose it down with water… I used the same paneling in my laundry room surrounding my washer and dryer and it looks good (a rolled adhesive, like you use for outdoor carpet, or notched adhesive trowel installation is recommended, you could use tube adhesive (liquid nails type stuff) but it might end up with a wavy look) . I also have some of it lining the walls in my milking area, and in the shop (near saws, drill press, etc), also in some livestock high traffic areas where they rub against walls and beams, etc. It’s basically big thick sheets of plastic, about 1/8 inch thick.
https://www.homedepot.com/p/PLAS-TEX-1-16-in-x-48-in-x-96-in-White-Polywall-Plastic-Panel-10048615/311314398
In the chicken coop, It protects the walls and area under the roosting boards, (I also like to add a light layer of sawdust under the roosts). I was conservative on the angle so the birds can still walk on it if they need to (without it being a playground slide), but it still has enough pitch to shed water without the sawdust sliding off. I like them pooping on the sawdust and inoculating it directly before it all goes to the compost (I clean it out a couple times per month and it never gets smelly. If it got smelly I would clean it more often, but the bi-weekly cleaning is perfect). The light layer (1 to 3 inches) of sawdust keeps the paneling very clean and I only need to hose it down once a year (in the summer, when it will dry really easily), it stays pretty clean, but it will collect a little bit of dust/dirt over time.
I could see linoleum as a possibility. If money were no object I would love copper panels because copper would last forever, it’s 100% recyclable, and it’s anti-microbial… But the thick plastic is cheap and durable (It would stand up to bleach if I had to disinfect due to a pathogen). Also, I keep finding all sorts of places to put it to use (where paint isn’t durable enough), and while I’m not keen on plastic in general, this isn’t single use disposable plastic, and it isn’t in direct contact with food, it’s a durable waterproof protective layer, and that can be useful on any farm/homestead.
I just thought I would throw that out there in case your linoleum gets torn or worn at some point in the future.
Keep up the great work!!! I always enjoy reading your writing and tips/articles.