---------------------------------------------------------
You’ve got your buckets of maple sap now you just need to turn it into tasty syrup! Don’t have your sap yet? You must have missed part one of this series! Click here to read all about how to harvest maple sap.
Ok? Ready to go? Let’s make some maple syrup!
Turning maple sap into maple syrup
While you can drink maple sap for a sweet and refreshing drink, most people have plans to turn the sap into syrup. To turn sap into syrup you will need

- maple sap
- heat source
- large boiling pan/pot or evaporator pan
- pot for finishing syrup
- filters
- digital candy thermometer (bonus if it clips to the pan)
- glass jars
not necessary but helpful
- funnel
- holder for filter
- syrup hydrometer
- a secondary boiling pan
The process of making maple syrup is easy and requires just one ingredient – maple sap. You simply have to condense the sap by boiling. As you boil the sap, excess liquid evaporates away leaving just the thick, sweet syrup behind.
The liquid evaporating off will be sticky with natural sugars so it is best to do the majority of boiling outside. If you boil totally indoors be prepared for a very sticky kitchen!
Sap boiling set up
Heat source
Traditionally, the sap would be boiled in a pan over wood fired heat. You can construct a fire pit with concrete blocks with a steel grate to contain the fire and support your pans. You could also fashion something from a steel drum. This method will require you to have a large supply of split wood to keep the fire burning.
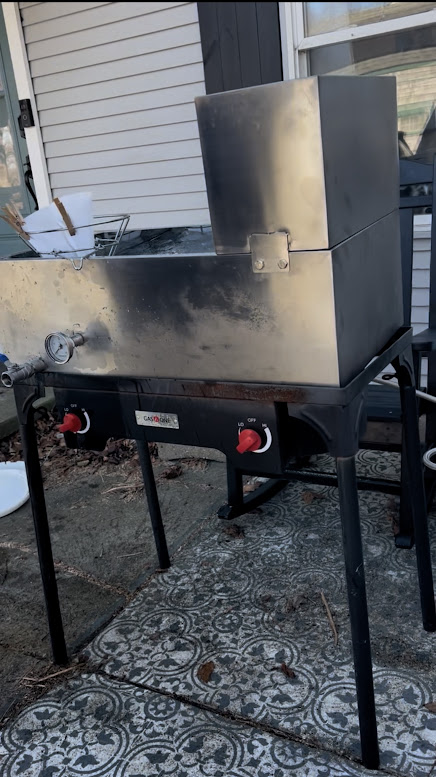
Another option is to use a natural gas burner or propane stove to heat the sap. This method is a little easier for those in more suburban locations who might not have wooded lots to harvest for firewood. You could use a camp stove, outdoor deep fryer, or a gas grill. Of course, this will cost you in gas.
Boiling pan
You can use any sort of heat-resistant pan for holding the boiling sap. Stainless steel is the best choice if possible. You could use a large lobster pot, stock pot, or Dutch oven pot. An evaporator pan is a wide short pan that provides a large surface area for evaporation & heating. The larger the surface area of your pan, the faster your sap will boil down. As a bonus, some evaporator pans will come with a spigot installed for easily pouring off condensed sap for finishing.
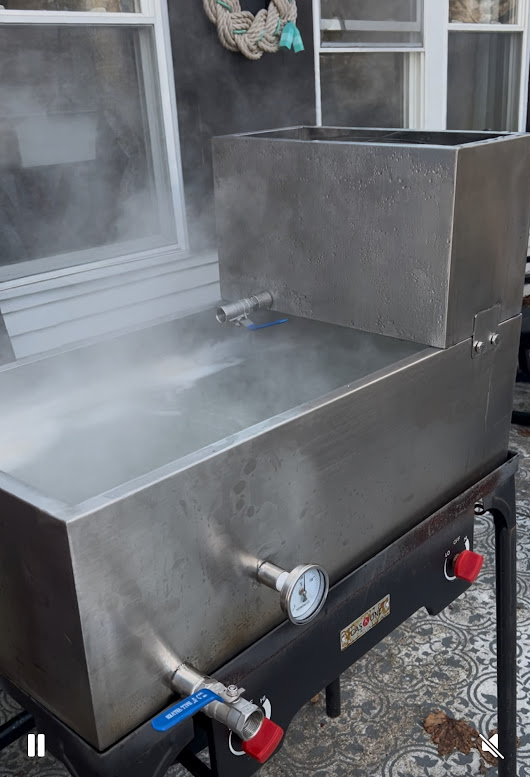
Secondary boiling pan/Heating pan
While not strictly necessary this is a nice thing to have. Let’s say you have 20 gallons of sap to boil down and your boiling pan holds 10 gallons of liquid. Several hours go by and your 10 gallons have boiled down by about half and you have some space in your boiling pan. So you pour in the additional sap. The boiling sap was over 200 degrees and you have just dumped a bunch of 35-degree chilled sap to the pan. Now you have to wait for it to heat back up again making the whole process take much longer. A way around this is to have a secondary boiling pan or heating pan where you are warming sap to eventually be dumped into the main boiling pan.
Filters
Filtering is an important step for clear, good-tasting syrup. You will be filtering your syrup three times. For the first and mid-process filtering, you can use thinner filters like coffee or fry oil filters. Cone shaped one-quart filters work well for small backyard maple producers. For the final filter, you will want a thick filter made specifically for maple syrup. These are usually made from felt, wool, or orlon. I like to line my wool filter with a few of the thinner filters for easier cleanup.
As maple sap boils down, naturally occurring minerals become concentrated and form cloudy, silty, chunks. These chunks are known as “sugar sand”. It is harmless but will make your syrup cloudy, affect the taste, and leave a grainy texture if you don’t filter it out.
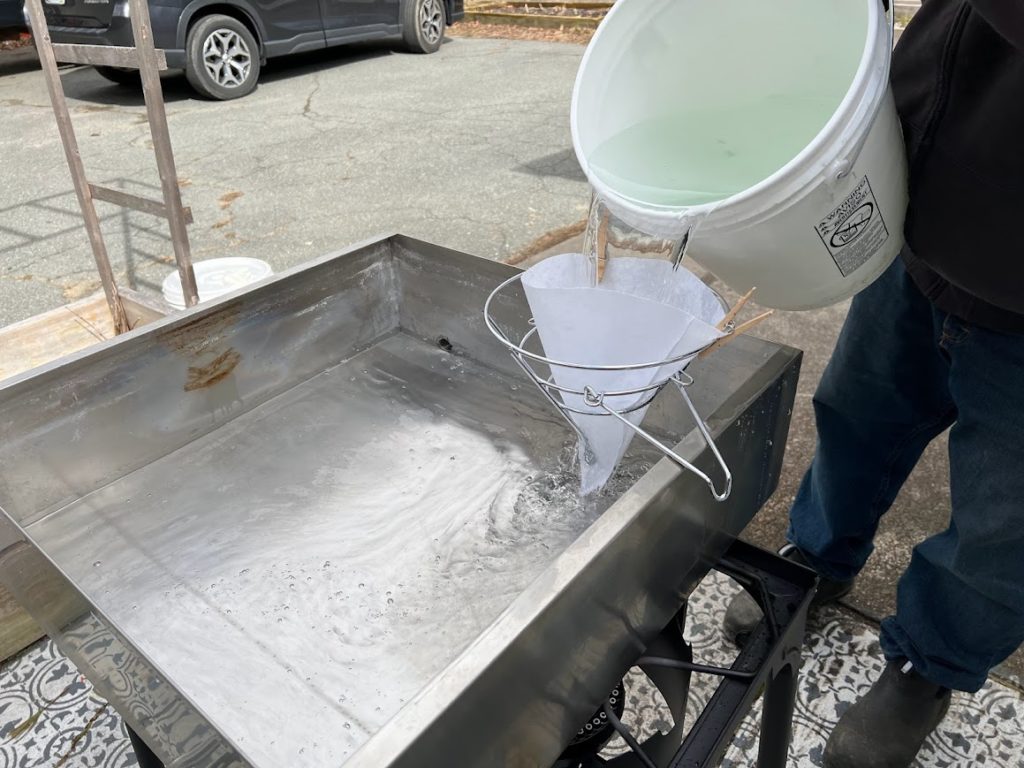
Boiling the sap
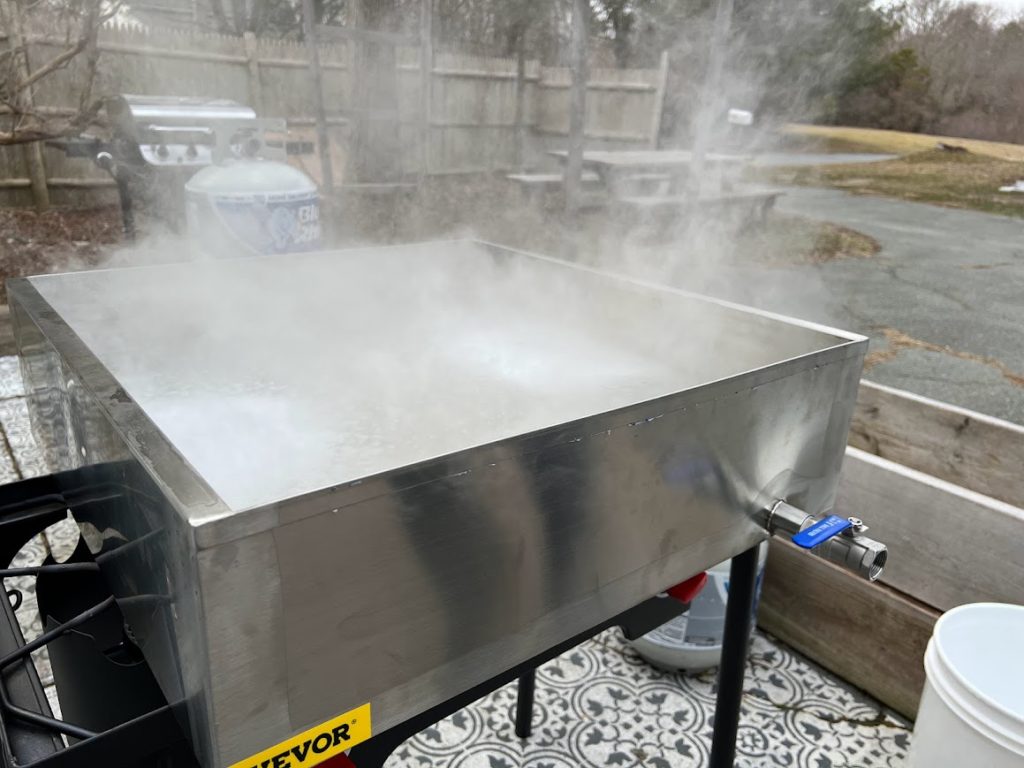
First, filter your sap. I use a filter holder set up over my boiling pan so it gets filtered as I pour the sap from the bucket. Fill your pan about 3/4 of the way full and place it on the heat source. As the sap levels boil down, add more sap until you have added all the sap you are processing. If you are using a secondary boiling pan, use this to add warm sap to the main boiling pan.
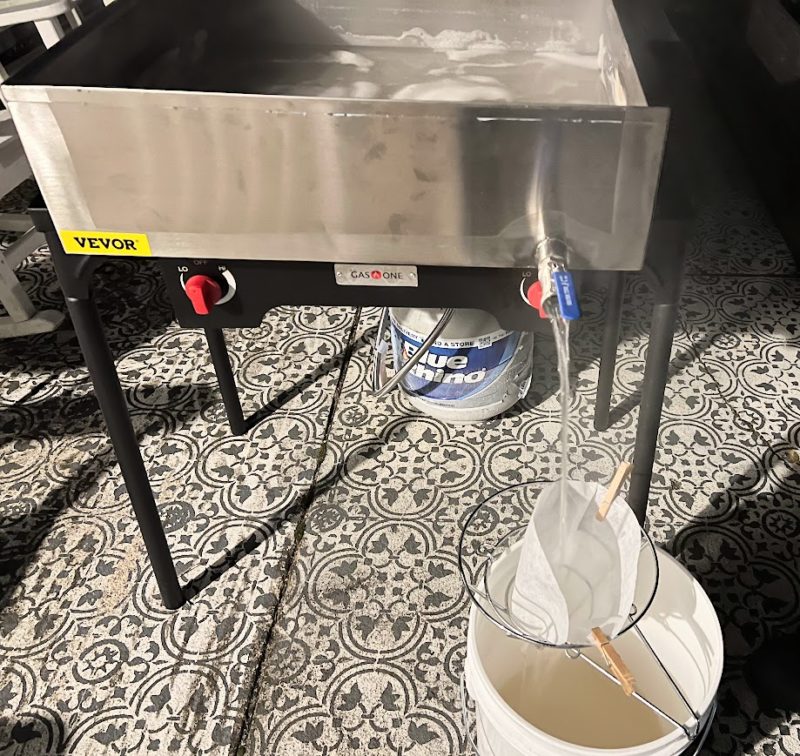
Once all of your sap has been added, let the sap boil down. If the boiling sap becomes foamy or threatens to overboil the edges, a drop or two of vegetable oil will clear it up. When the sap turns a light golden color and is mostly boiled away, it’s time to bring it inside for finishing. In our large evaporator pan we usually pour it out when we get down to about 1 inch of sap left in the boiling pan. 1 inch across a 24-inch square pan ends up being about 4 gallons of sap and will fill our huge indoor boiling pot to the top. Do not let the sap boil down below 1 inch or you risk scorching the syrup and burning your pan.
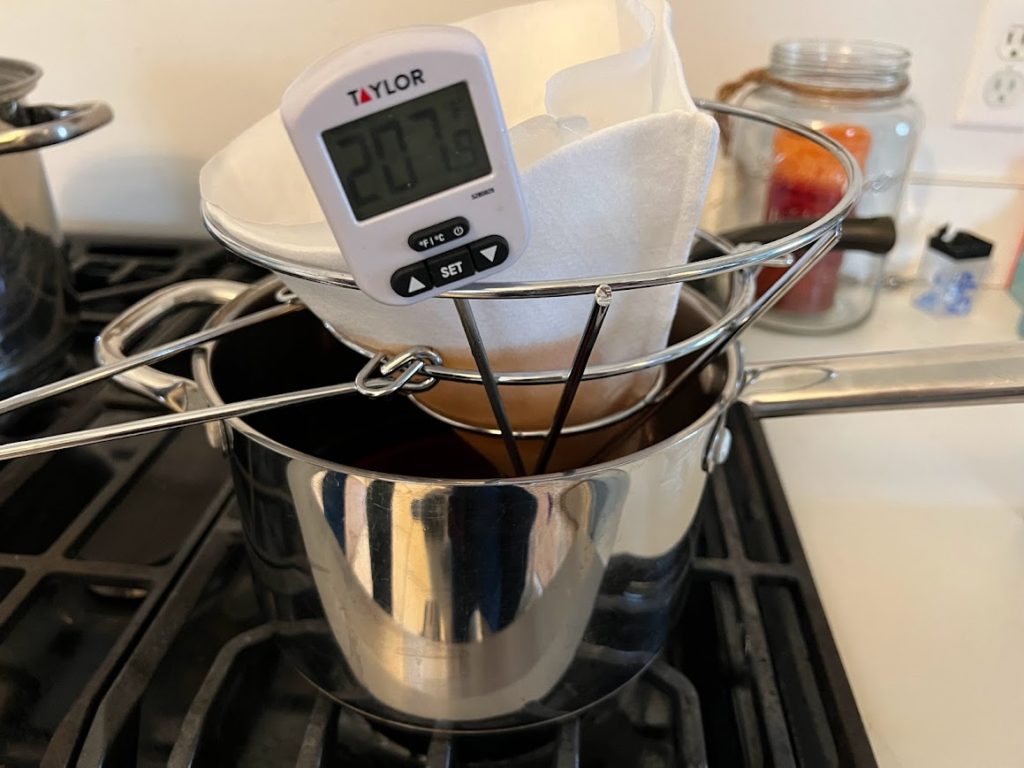
It is really difficult to finish off syrup in a large flat pan over an open heat. You should pour off the condensed sap into a smaller pot and finish indoors. Filter your sap for a second time when transferring your sap into the finishing pot.
Finishing Syrup
Bring your sap to a boil in the finishing pot. As it boils down further the color will deepen and the syrup will thicken. Use the candy thermometer to keep a close eye on the temperature. The syrup is finished when it reaches 7 degrees above the temperature of boiling water. This will vary according to your elevation. I live at sea level where water boils at 212 degrees, my syrup needs to get to 219 degrees. The higher in elevation you are, the lower the temperature needs to be for water to boil. You can find a good water boil calculator by clicking here.
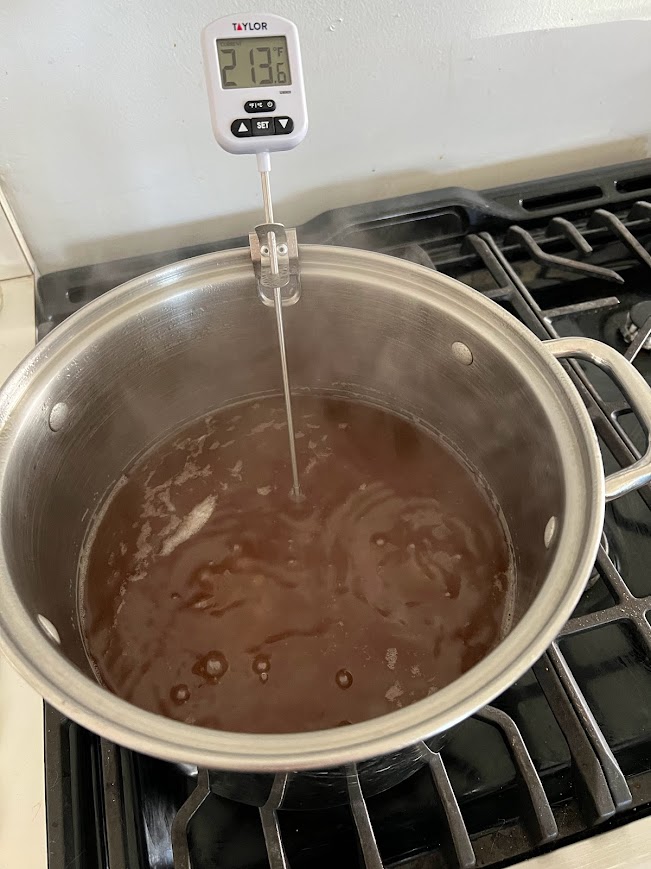
It is really important to keep a close eye on the temperature of your finishing syrup. It will seem like it takes forever to reach the needed temperature, but the last couple of degrees start to move quickly. If you boil your syrup to too high of a temperature it will crystalize. If you remove it from the heat too soon it will spoil quickly and be too liquidity.
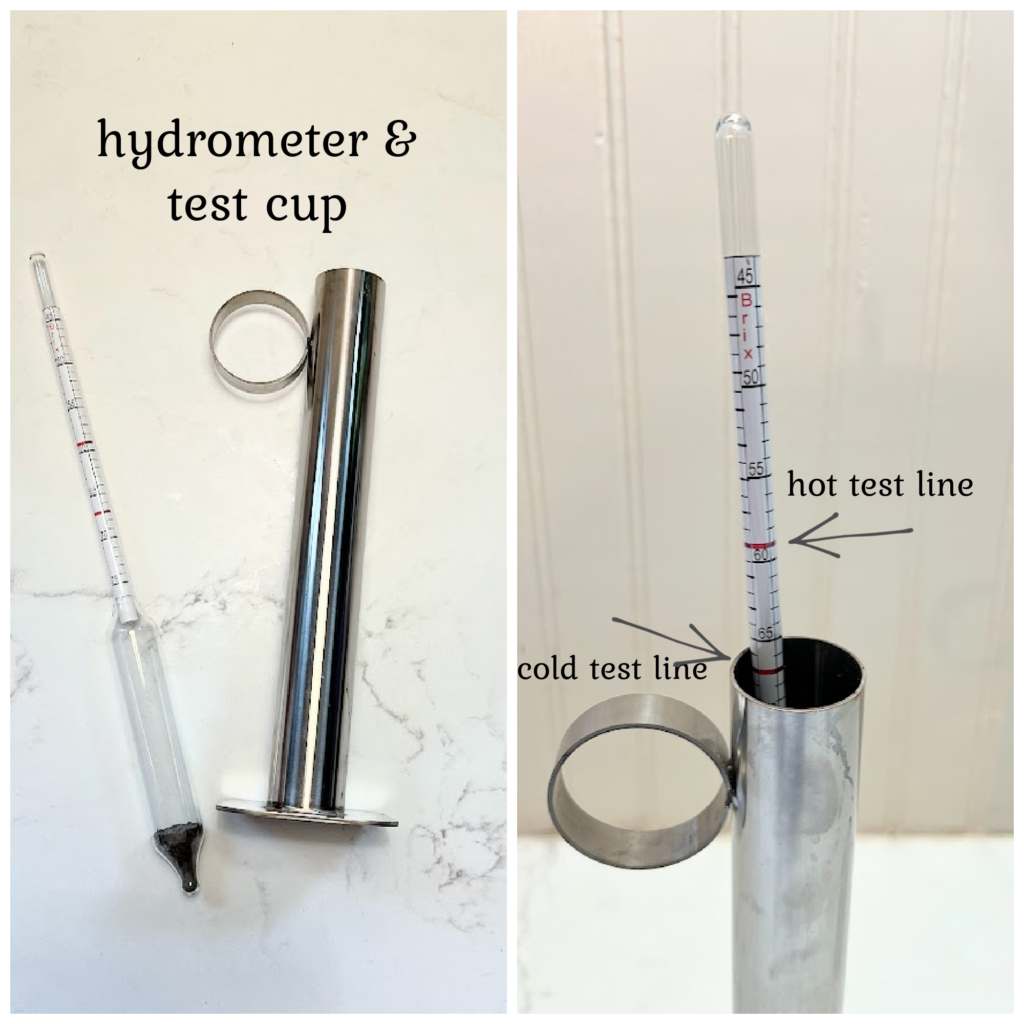
How to test syrup with a hydrometer
The most accurate way to determine if your syrup is finished is to measure its density with a syrup hydrometer. Fill your test cup to within 2 inches of the top with syrup and very gently put your hydrometer in (don’t drop it in, you don’t want it to bang against the bottom). Read the hydrometer at the level of the syrup in the cup. Based on the buoyancy of the hydrometer you can determine the density of the syrup. A finished syrup will measure between 66-68 Brix when cooled to 60 degrees. Syrup will thicken as it cools so many syrup hydrometers will have two red “goal” lines – one for a hot test (syrup around 212 degrees) and one for a cold test (if your syrup is room temp).
If you are going to be selling your maple syrup it is best to test with a hydrometer. Be aware if you plan to sell your syrup that local regions may have more precise Brix guidelines (especially in New Hampshire and Vermont where they take syrup very seriously). If your syrup is just for household use, testing with a hydrometer is not necessary but is still a nice way to know you’ll have properly thick syrup!
Bottling
You’re almost there! Once your syrup is finished, it is time for the final filter. For the final filtering, you will want to use your heavy wool filter. Using a paper liner inside the wool liner will make clean-up easier. This needs to be done right away while the syrup is still hot. For sealing purposes, the syrup needs to be hot packed (over 185 degrees when bottled), if it gets cooler than this you will need to reheat it or the bottle may not seal properly. Thick syrup can take a while to go through the filter, so I set the filter up to drip into a pan that is over low heat.
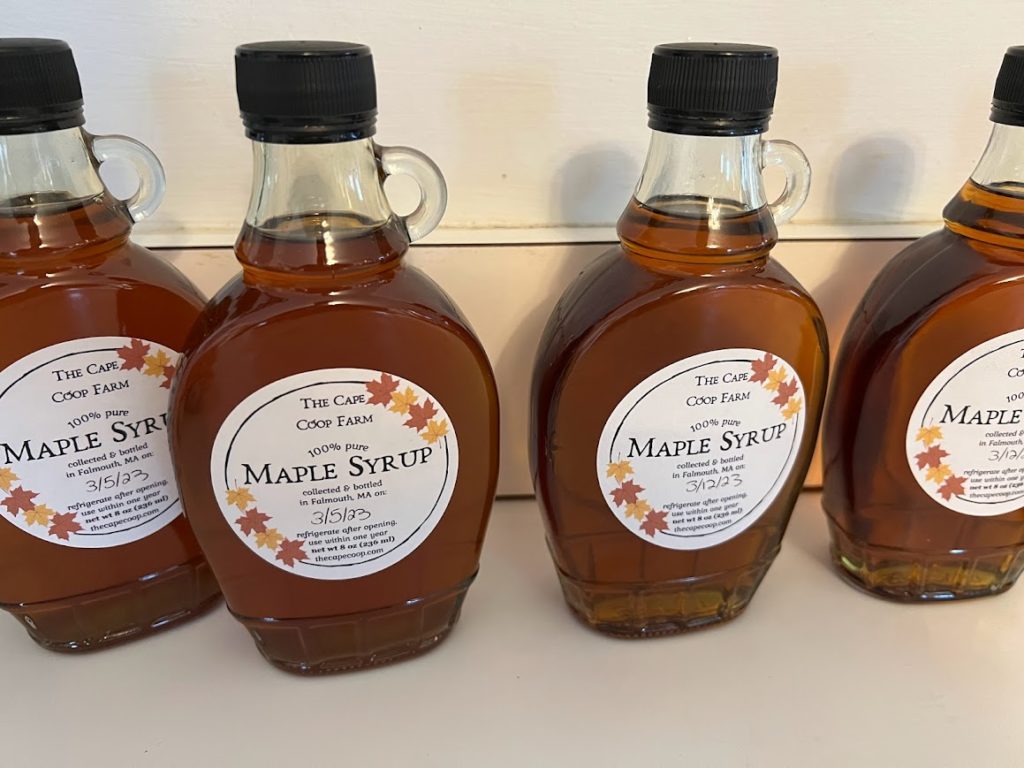
Pour the finished syrup into clean, sterilized glass jars or bottles. If your bottles have narrow openings, a funnel will be helpful. Put the cap on immediately and tighten it. Turn upside down to seal and then lay the containers on their side to cool.
Hot packed containers are shelf-stable and do not need to be refrigerated until they have been opened. Once opened store in the refrigerator. The maple syrup should be ideally used within 1 year.
Final Syrup Filtering Tips
Filtering can be a sticky and frustrating process, especially when you are just starting out. Here are my tips that I’ve pickup over the years. I like to very slightly dampen the thick wool filter and then put FOUR thin filters inside it. Use a clothespin to keep all the filters clipped together. Slowly add the hot syrup, pulling out the thin filters one by one as they get clogged with niter. Keep the filtered clear syrup warm but do not allow it to get to boiling or you will have to filter it again.
Clean up
Clean and sanitize all your pans and buckets for next time. Be sure to rinse everything well. The filters should be hand washed in hot water only with no detergent and then left to air dry.