---------------------------------------------------------
Onions are a really easy crop to grow even for beginners. When you grow your own onions a huge amount of variety is opened to you. Not only will you find a larger variety, but homegrown onions have a much more vibrant flavor. This will kick up the taste in all the dishes you add them to! Ready to get started?
Choosing your onions
There are lots of varieties of onions from large slicing, sweet whites, small pearls, crisp reds. All onions can be categorized into three main types: Short Day, Intermediate, and Long Day. You want to pay attention to the kind of onion you are ordering. This will make a critical difference in your yields & planting time.
The length refers to the amount of daily sunshine the plant needs to get the signal that it’s time to switch from growing leaves to forming a bulb (the onion itself).

Short day onions will need about 10-12 hours of sunlight to start the bulbing process so do best in the warm south (plant in the winter or early spring for summer harvest).
Intermediate require 12-14 hours of sunlight and could work for those in a moderate climate.
Long day onions are great for those in the north, requiring 14-16 hours of sunlight to form bulbs during the warm growing season (plant in mid-late spring for late summer/early fall harvest).
Another factor in choosing your variety is long-term storage. Are you looking for onions to keep all winter or are you looking for a tasty, fresh eating onion? Generally, the stronger flavored yellow onions keep the best for long-term storage. The sweet, mild-flavored white onions have the shortest shelf life.

Growing Onions from Seed
For the largest range of varieties, growing from seeds can be a low cost way to grow onions. Onions need a good head start before being transplanted into the garden. Count back about 10 weeks from your area’s last frost date to figure out when you should start seeds.
To grow firm, big bulbs, you don’t want to move the onions outside until the weather is consistently above 50 degrees. Onion seeds tend to deteriorate in quality quickly. For the best germination rates, you should plan to start with fresh seeds each year. Onions like warmth, to help germination along, putting the pots on a seed heat mat will make a big difference. When it’s time to transplant, dig a long shallow trench and follow spacing information for the variety you are growing.
Growing Onions from Transplants
Transplants are baby onion plants and can be found at your local nursery and by mail order. It takes the work out of starting onion seeds and can still deliver a large range of varieties. This is the most expensive route – but still a great deal over buying onions at the grocery store. Seeds will cost you about $3 for 300, sets will cost you about $6 for 100, and transplants will run about $20 for 100.
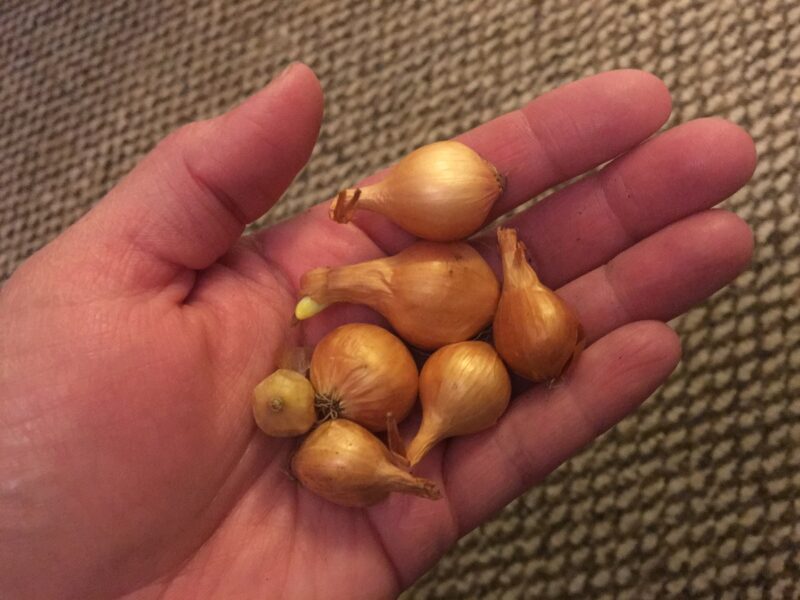
Growing Onions from Sets
Because onion seeds can be so finicky and because I have a shorter growing season, I like to start my onions from sets. What is an onion set? It’s a tiny onion bulb (about the size of a dime). They are generally grown during the previous growing season, and then forced into dormancy. Growing onions from sets is the easiest method, but also offers the least variety. You can usually find sets for white, yellow, & red varieties. Planting onion sets is super easy. Simply poke a hole about 2 inches deep in loose soil, put the bulb in with the neck facing up, and cover it with a little soil. Then in about 90 days you’ll have a full-grown onion!
Caring for your onion plants
Onions like loose compost rich soil with good drainage and full sun. They love raised beds and will grow great even in containers. Mulching around the onions will help discourage weeds and keep the soil moist. If you like, when you are setting your onions out, you can mix in a little time-released fertilizer. Go easy on the fertilizer though because too much nitrogen can discourage bulbs from forming.
For the most part, they don’t need a lot of care and just want to be left alone to grow. Keep the soil moderately moist (not too wet or the bulbs will rot). Keep the weeds away, and onions are good to go! You’ll want to give each plant about 4-6 inches of space. If you plant them too close together, the extras can be thinned and eaten as small green onions or scallions.
Harvesting Onions
All of the magic takes place below the soil, so how do you know when it’s time to harvest? Onions take anywhere from 80-110 days to mature depending on variety. For the most part, this means late summer (usually around late August/early September for me) will be harvest time.
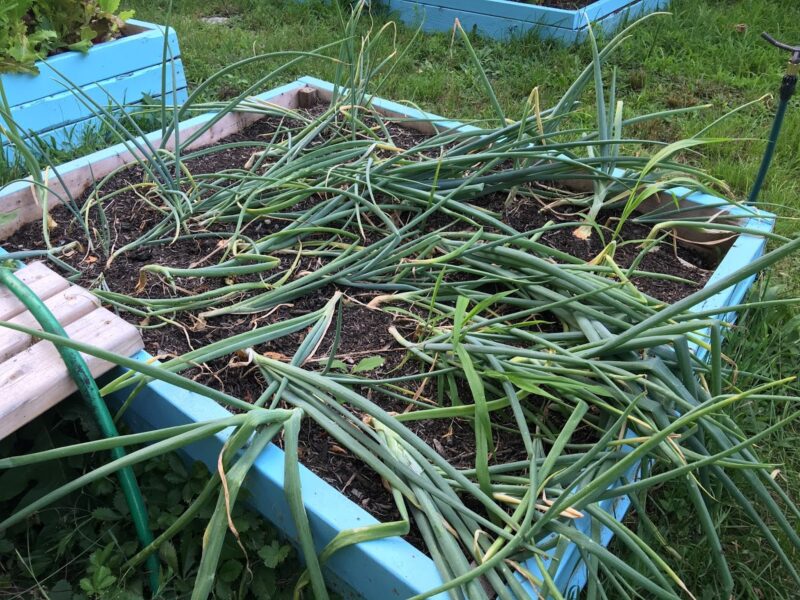
You will notice the green tops start to turn a little yellow and start slumping over. With your hand or the back of your rake, knock all the stems down so they are laying on the ground. Let them sit like this for a couple of days. This signals to the plant that growing time is over and any remaining energy will get diverted to the bulb.
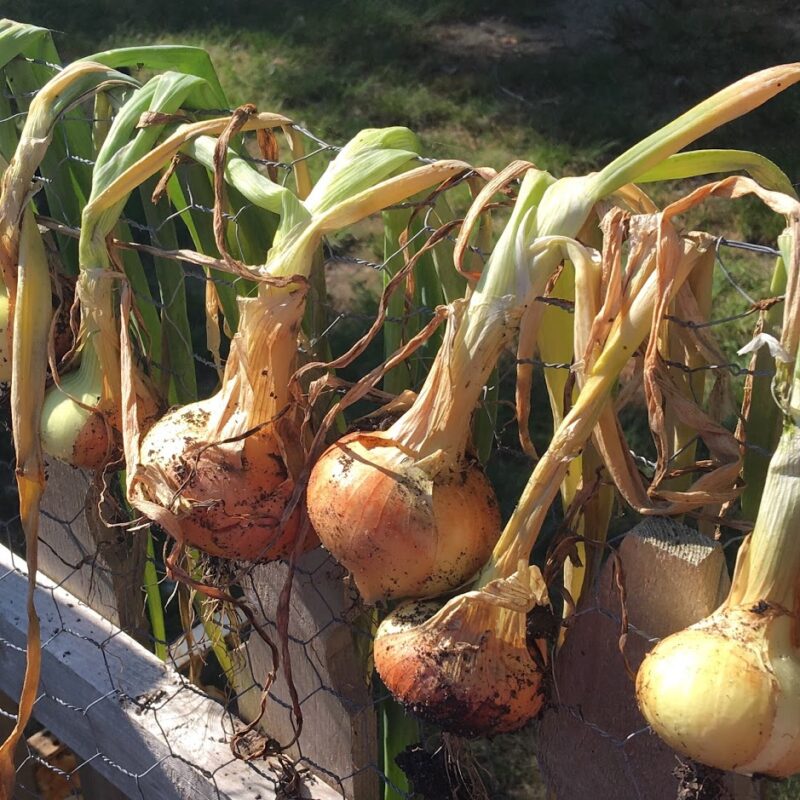
Carefully dig the onions up on a warm, dry day. Leave the stalks still attached to the onion and gently brush off as much dirt as you can. Hang the onions up by the stalks to dry until the stalks turn brown and the outer layer of onion skin is papery and dry. The top of the onion neck should be closed tightly. This could take a couple of days. The ideal location for them is a warm, dry place, out of direct sunlight. I like to sling them over my picket fence.
Storing your onions
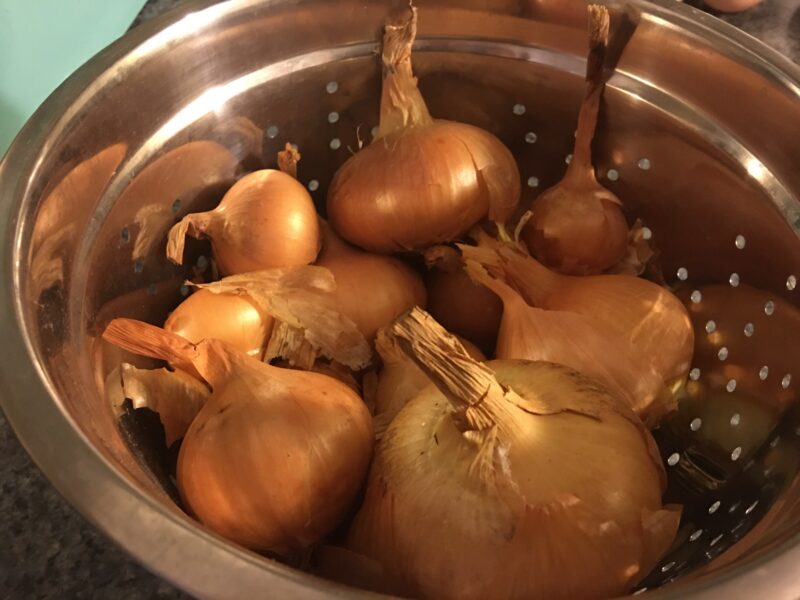
Brush off any remaining dirt before storage. The more dirt left on the skin, the more moisture left and the faster your onions will rot. Any onions that have soft spots should be separated and eaten first. If you store just one soft, uncured onion with the others it can start a chain reaction, rotting all the onions in the bin.
From here you can either braid the stalks together to hang the onions for winter storage or chop the stalks off and store the onions in a mesh bag or other airy container. I store mine in an old steamer basket in my pantry cabinet. Keep the onions in a cool, dry location. Depending on the variety they will keep for up to a year!

Margy
Saturday 20th of May 2017
I grow onions in my floating garden which has raised beds with soil about six inches deep. Like you, I use sets. My main issue is onion maggots that riddle the bulbs. I've tried using ashes and diatomaceous earth, but nothing really stops them. Do you have this problem? If so, what do you use that doesn't involved poison. My garden drains into the lake and I don't want to get anything bad into our water supply. - Margy
Tammy
Monday 17th of July 2017
Margy, Try growing marigolds by your onions. I use marigolds by my tomato plants as well. I also save and crush my egg shells and mix them heartily in my soil before planting. If you follow Liz's advice and start with fresh compost, you may find these hints helpful.
Liz
Sunday 21st of May 2017
I wish I could help, but I haven't had to battle onion maggots yet. Do you rotate your crops so you aren't growing onions in the same soil every year? Another, more labor intensive option would be to dig out all the soil so all the larvae, pupae, and adult maggots would be removed then start fresh with new compost. Good luck!