---------------------------------------------------------
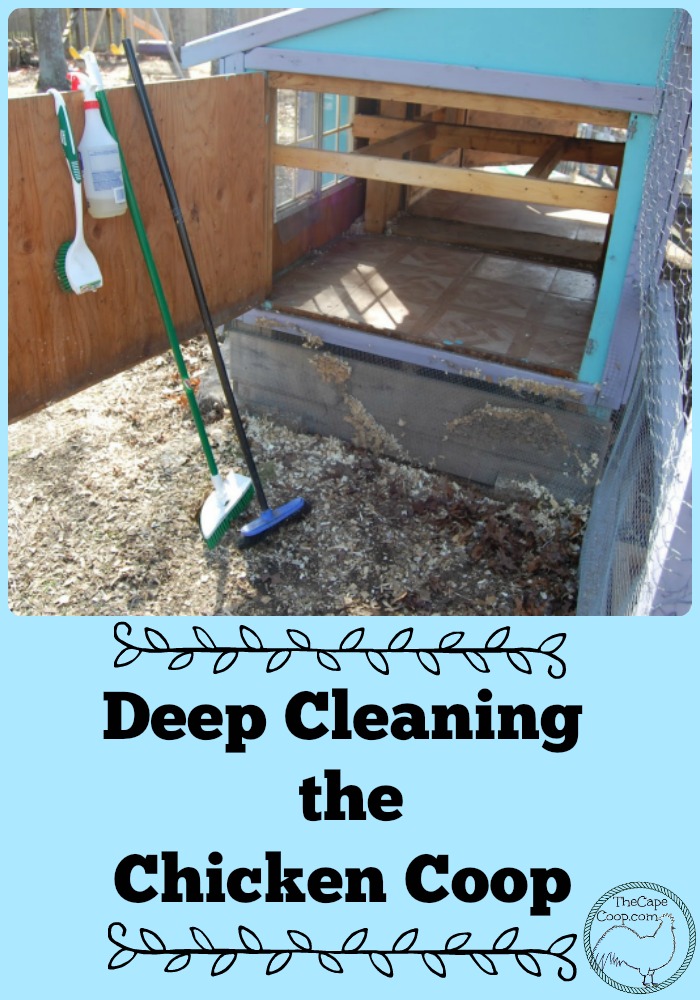
Once a week I rake the chicken’s run & stir up the shavings in the coop as quick “mini cleanings” (Click here to read about the Deep Litter Method of Coop Maintenance). But twice a year I like to do a deep cleaning. Let the girls out to free range, roll up your sleeves, and grab your scrub brush because it’s coop cleaning day!
First, assemble the tools you will need. It is a good idea that these tools are used exclusively for coop cleaning, you don’t want to transfer germs to other areas of your home. I use a soft bristle broom or a metal rake for removing the shavings and knocking down cobwebs, a long handled stiff bristle scrubbing brush for scrubbing the floors & walls, and a short handled stiff bristle brush for scrubbing down roosts and into crevices.
You will also need a cleaning solution. I make my own citrus vinegar disinfecting spray, but you could use simple diluted white vinegar as well. You should avoid heavy chemicals like bleach. Chicken’s respiratory systems are sensitive and you don’t want them inhaling the chemicals. They also tend to peck at all surfaces and you wouldn’t want them picking up any chemical residue.
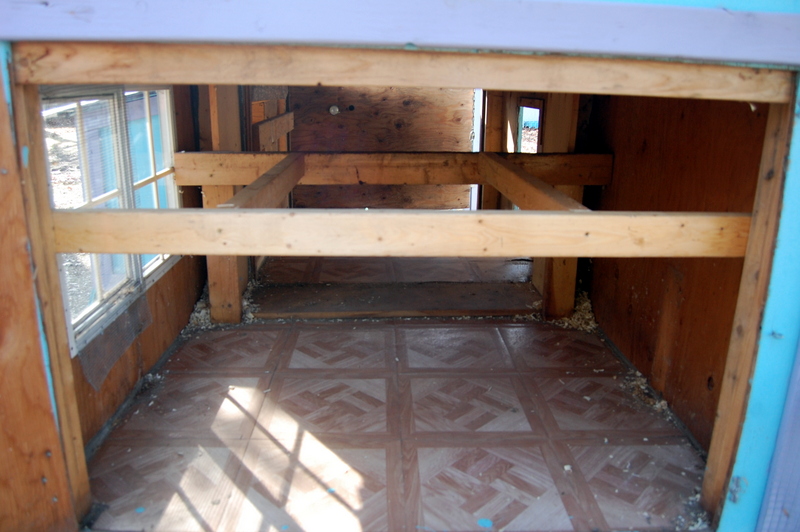
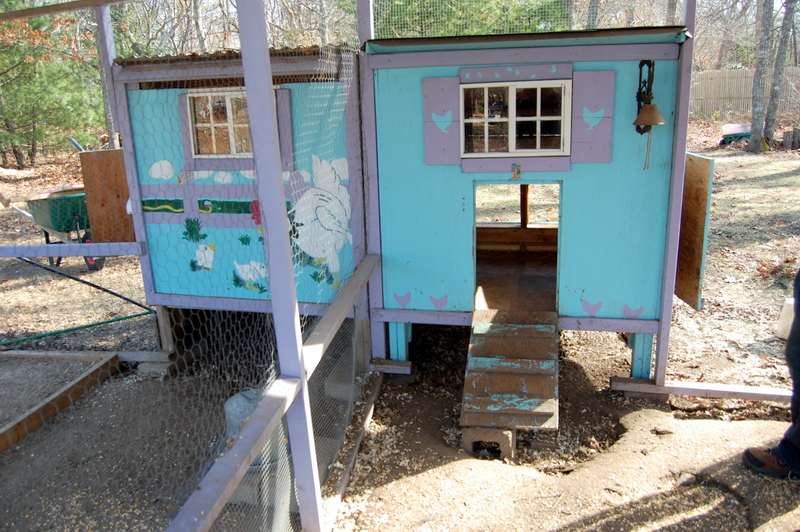
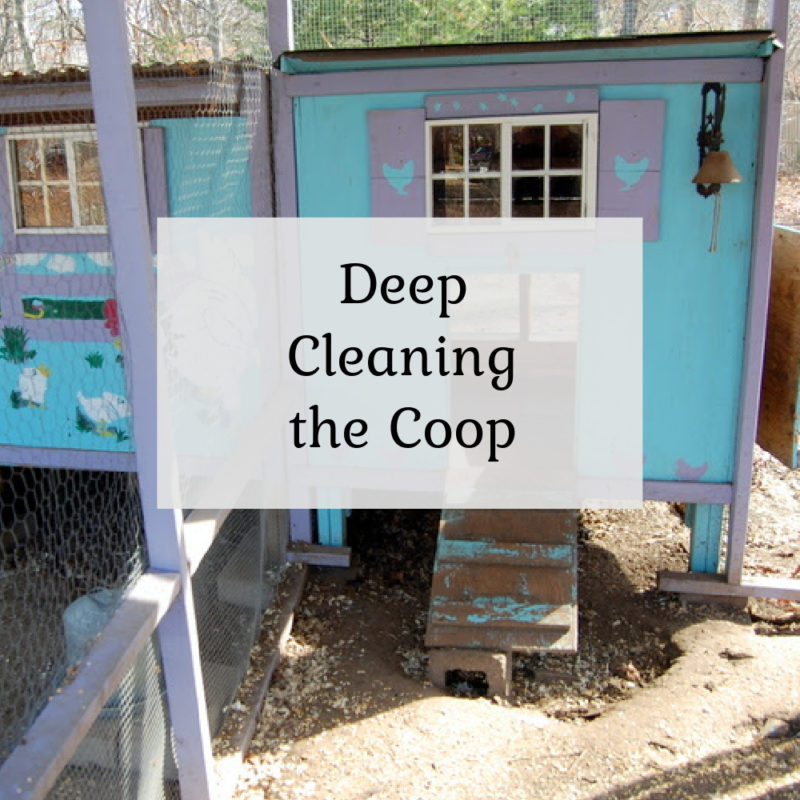
This coop is set up so that you can pull a wheelbarrow right up under the door and sweep the soiled shavings out from either end. The used shavings are carted off to the compost pile.
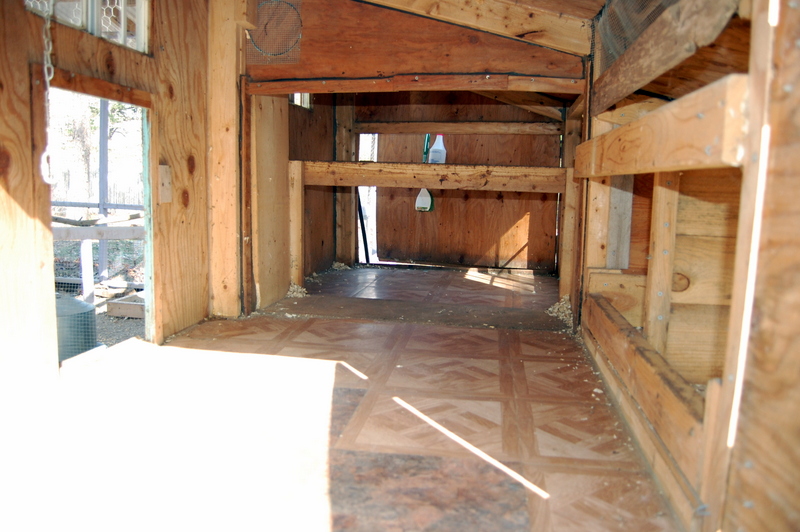
Next, spray the walls and give them a good scrubbing, followed by the floors. The floor of this coop is covered with cheap vinyl tile squares. I like the squares because it is easy to swap them out if they become damaged. You can see there are a couple different patterns in there, just buy whatever ones are cheapest when they need replacing. I don’t think the girls mind! I highly recommend using vinyl floors because they are super easy to scrap off any dried on poop or mud.
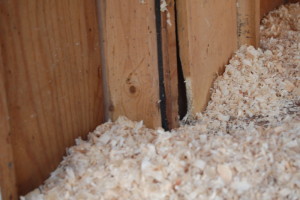
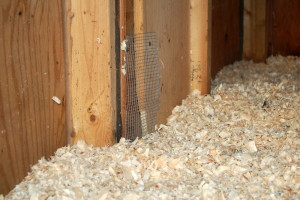
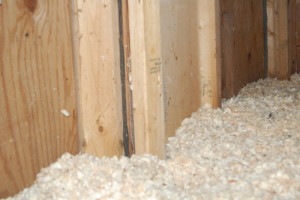
While you have the coop empty, it is a perfect time to inspect for any signs of predator or rodent damage. While cleaning out recently, I discovered a little gnawed out hole! This coop is actually two coops that we joined together as the flock expanded. Where the coops are joined together some kind of rodent tried to make his way inside. They can be very resourceful and if there is a weakness those little buggers will find it. I repaired the hole by first covering it with hardcloth wire, and then screwed a 2×4 over it. Lastly, I followed the path out and made sure to shore up the outside where the rodent got into the run in the first place. Click here to read more about keeping rodents out of your coop
Next, take the short handled brush and give the roosts a really good scrubbing. This will probably be the nastiest part of the job. It’s surprising how fast the roosts can get crusted with gunk! If your roosts are removable, it makes this job infinitely easier.
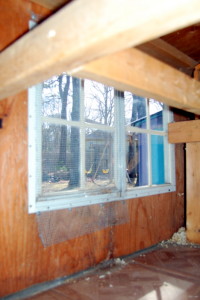
Remove the wire screens from the windows, and clean the glass inside and out
Now that the inside is clean, use the spray to wipe down the outside walls of the coop.
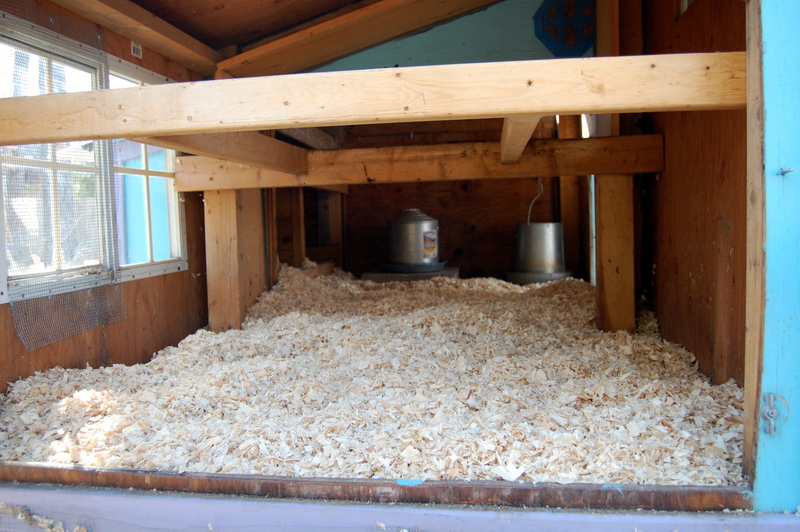
Fill the coop back up with clean shavings and let the girls back in!




Downey Kristin
Thursday 17th of September 2020
That’s good to hear! I use vinegar a lot and The girls look great, but I also get stuck in the feeling I need to get the coop sparkling clean. Im glad to know your method works. It reminds me to let it go! Thanks for the fast answer. 🐔
Kristin
Thursday 17th of September 2020
Hiya! Just wondering what you do after the scrubbing step. Do you rinse with a hose? I feel like I can’t get the coop to dry out in a day before chicken bedtime. We have a lot of humidity in Williamsburg Va (marshland!). If you have a different way I’d love to hear about it! Love your site!
Liz
Thursday 17th of September 2020
We also have a lot of humidity. I don't spray it out with a hose because like you I live in a high humid location. I usually spray the vinegar spray, scrub with the brush, then use a broom to sweep out any mess that falls down. Sometimes if it's really gross, I'll follow up with another spraying and wipe down with paper towels. I've also just come to accept it's a chicken coop and if it's not my house lol - if it's not perfectly scrubbed clean it's ok!
Samantha Kilgore
Saturday 12th of January 2019
Love your website and will definitely use the deep litter method. The wood shingles are charming, but I can't see what is printed on them. Thought I was going blind until my husband couldn't read it either. Would love to know how you clean out your coop though!
Liz
Sunday 13th of January 2019
Are you talking about the wood shingles background on the side of my website? That's just a background pic of the side of my house, nothing is written on them! I wonder if there was a glitch when you were viewing the page and the shingles took over the whole page? They should just be on the sides with a white bar down the center where the text is. Sorry about that!
hamza
Thursday 20th of July 2017
very informative article thanks for sharing
Zan welch
Friday 5th of May 2017
I have asked everyone this question. I am ready to put my chickens in the coop what do i need to do to get the move to go smooth. I have nothing. Could you help me
Liz
Sunday 7th of May 2017
I will assume this is an empty coop so there are no other chickens live out there now, right? Put them in the coop, make sure there is plenty of food & water. Let them live in just the coop for a day or two without letting them out into the run. This way they realize this is their "home" and where they need to go at night. Do check on them often though and make sure no one is picking on each other. After the couple days, let them into their run in the morning. Hopefully when dusk comes they will go back into their coop on their own, but you might have to help them the first couple nights. Lock them into their coop each night. Good luck!