---------------------------------------------------------
Every chicken owner at some time or another will wish they had a second mini chicken coop on hand. There are so many uses for a mini coop:
*hospital coop for sick or injured chicken
*quarantine coop for new birds before integrating to your flock
*coop for new birds during the integration process
*broody hen box to allow broody hen quiet space for raising chicks
*brooder box for chicks without a mom to raise them
*time out box for chickens who are being bullies
*overflow coop for when chicken math gets the best of you!
I had been wanting a mini coop for a long time, but I had spent so much money building my main coop and run, I just couldn’t justify it. While out in the yard the other day I was looking at our growing pile of scrap wood & building materials and realized I had plenty of scraps I could make a coop for free! I bet you have a similar pile of odds & ends – if not try Craigslist or ask your friends on Facebook. You could easily use pallet boards for the sides – be creative!
I knew I wanted the coop to be narrow enough to fit through my back slider door so I could bring it inside when needed. This limited the width to 22 inches. I went with a length of 4 feet to give me a mini coop big enough for several chicks or a couple full grown hens if needed.
Materials I had on hand:
1/2 sheet of plywood (4ft x 4ft)
about 8 “nubs” of 2x3s, each about 3 ft long, plus a couple full size (8ft) 2x3s
2×2 pole about 6 feet long
old vinyl shutters
old picket fence panels
peel & stick floor tiles leftover from the main coop
leftover hardcloth wire from the main coop
leftover “nubs” of the roof panels from the main coop – each about 25 in x 25 in
a couple hinges
screws & nail
Materials I had to buy:
spring loaded eye hook – $2.00
Building the Coop
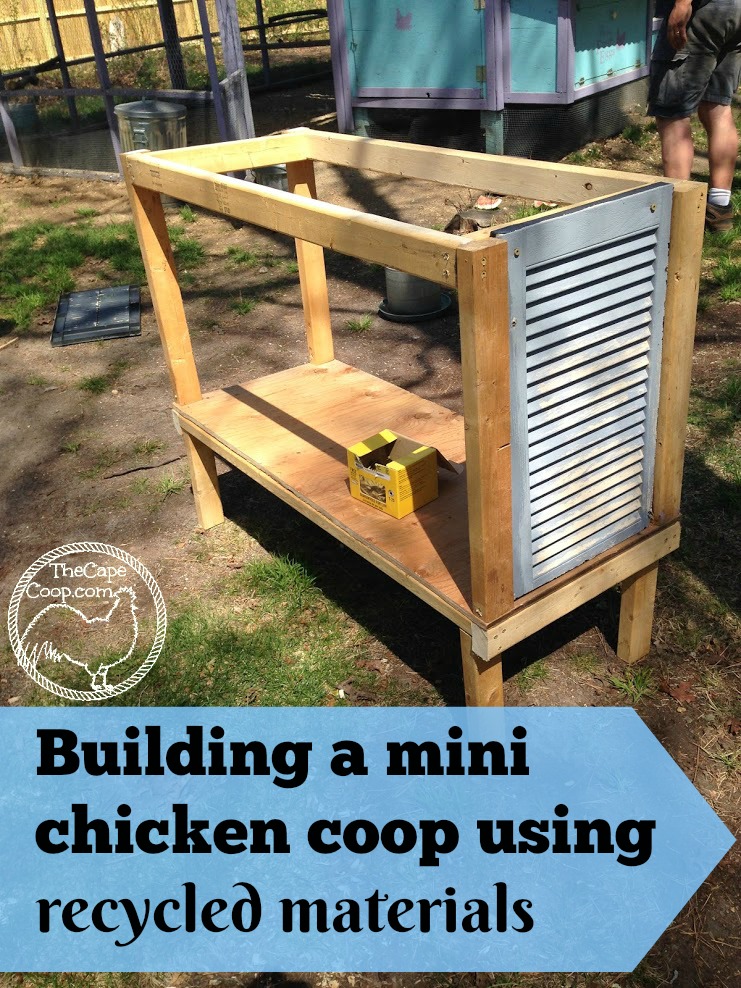
I used the 2x3s to build a basic base with 12 inch tall legs, cut the plywood for the floor, then I attached four corner supports (2x3s)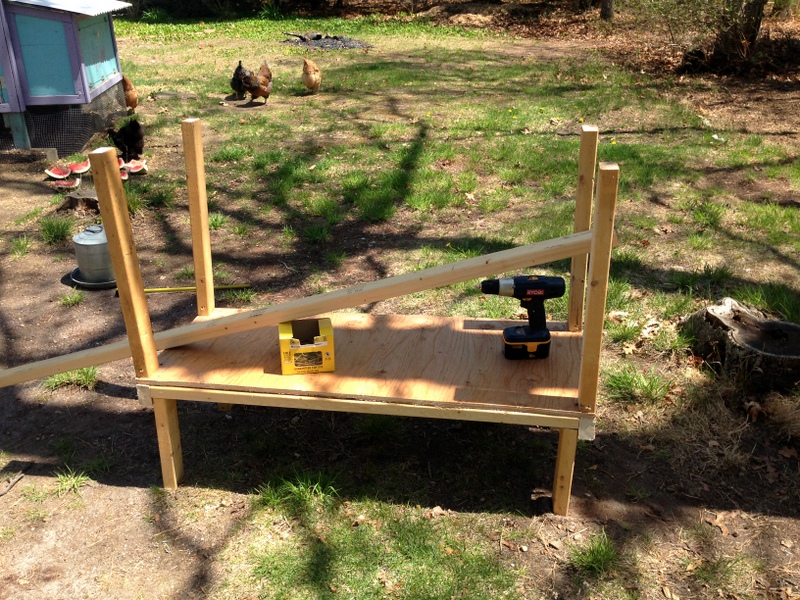
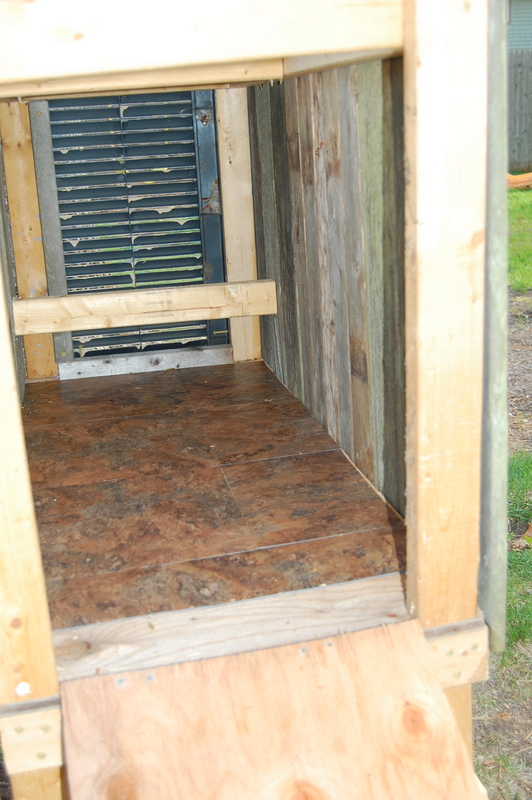
Then add the top rail supports (more 2x3s). I decided to use the old vinyl shutters on one end as ventilation. We replaced the shutters on our house last summer, I knew I kept the old ones for a reason. It fit almost perfectly, I just had to trim it a bit with a jigsaw. It’s almost like I planned it!
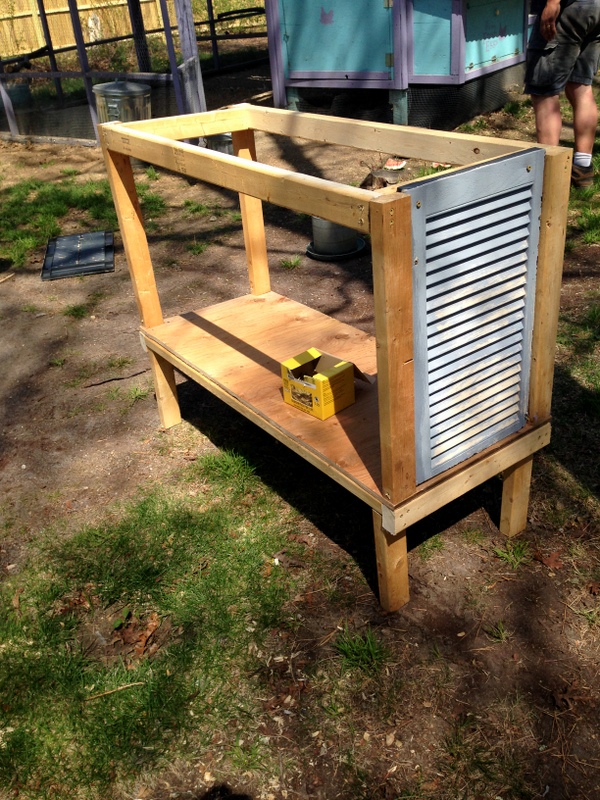
The other narrow end was going to be the opening for the chickens to come in and out. I cut more plywood to fill the empty narrow end, put hinges on the bottom, and the spring loaded eye hook at the top.

Now, we have to close up the sides! We have had 3 panels of old picket fence sitting beside our shed for years. We pulled the pickets off and cut them down to size, carefully removing the old, rusty nails.
Before closing it up, I put in the leftover peel & stick floor tiles I had from the main coop. It wasn’t quite enough to cover the entire floor, but close enough. This makes the clean up so much easier! Then we went about nailing the pickets to the sides. The legs were starting to look a little wobbly, so we added a lower brace across both narrow ends to help square the legs up.

On the back side of the coop I used the rest of the plywood as a large access panel for deeper cleaning. I used screws to attach it so I can easily take it off. I am thinking some day I would like to replace the plywood with plexiglass for a big viewing window, but that is a project for another day!
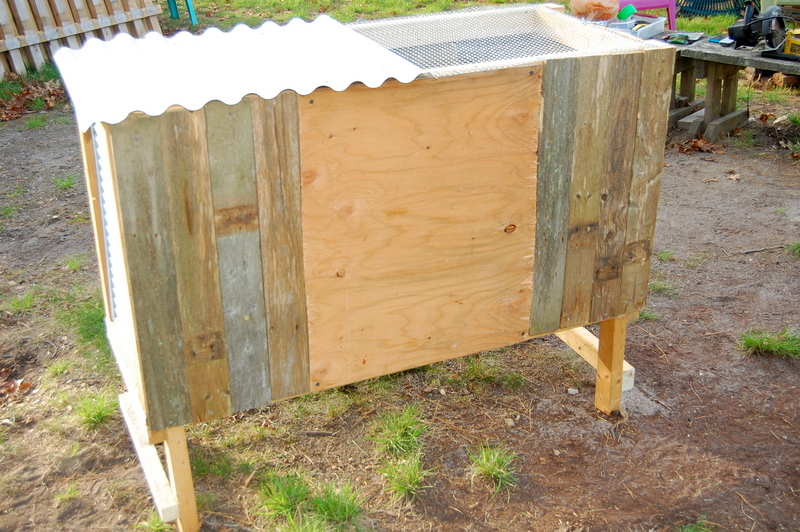
I covered the top with hardcloth wire, but I also have the leftover bits of roof panels. The roof panels on our main coop’s run came in 8 ft lengths and we only needed them to be 6 ft, so I had several 2 ft sections just hanging around. I was thinking the hardcloth wire would be perfect when using it as a brooder, but when it’s outdoors, I can just attach the roof panels.
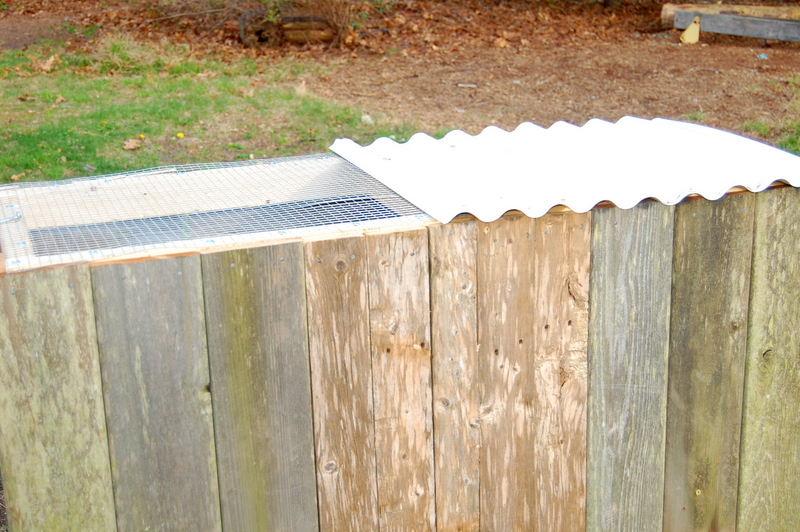
Final step was to screw in a little roost for the chickens and Ta Da! A functional spare coop!
Introducing our 4 week old chicks to their new home – at least twice the size of their Rubbermaid box, they are happy for space to stretch their wings!
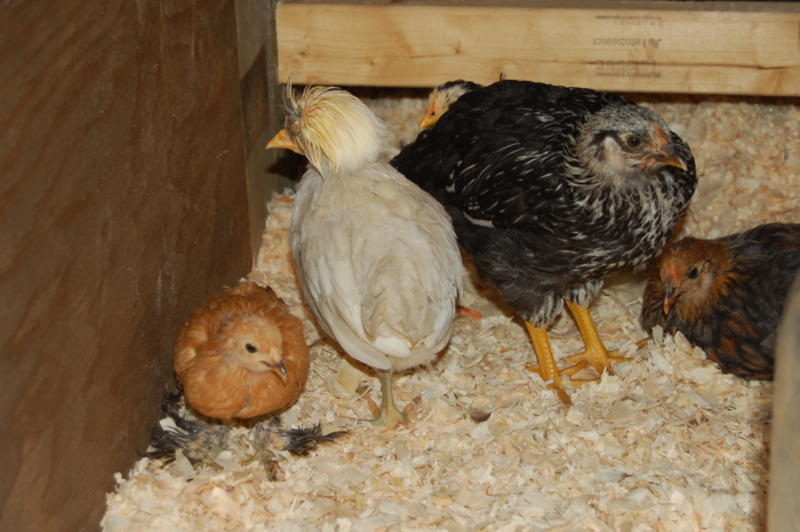
It’s still a little chilly at night for them to be outside, so for now we have the mini coop in our sunroom, but hopefully in the next week or so we can transition them outside. It will be nice for them to be able to have the familiar brooder space while we work on integrating them with our big girls.
Final Thoughts
It’s not airtight, super quality, but for $2 and an afternoon of work I have a great spare coop – and as a bonus, my scrap wood pile has gotten much smaller!
The mini coop is HEAVY, but not difficult for two people to move together. I think I am going to get some wheels to add onto one end to make moving the coop a breeze.
I do want to replace the plywood access panel with plexiglass. It will make for a great “chick TV” viewing window when the coop is being used inside and also provide more light inside the coop.


Anna
Thursday 13th of April 2023
I have a rooster that is almost a year old, he’s pretty big, how do I introduce him to the younger flock that are about 3 or 4 months old, I don’t want him killing them, what do I do? My younger one are maybe 3 mo. not sure
Liz
Sunday 16th of April 2023
You will want to introduce him to the newer chickens slowly (I outline the process here: https://thecapecoop.com/introducing-chicks-to-your-flock/). Just like when introducing chicks to your older hens, you need to let them live separately but where they can see & smell each other. As long as they are allowed this introduction period your rooster should not try to kill the younger birds. The only difference is you may need to wait longer than discussed in this article. When hens approach maturity (around 5 months) their combs and wattles turn red and will start to do submissive squats which signals to roosters that they are ready for mating. But some roosters are not the brightest and will try to mate with younger pullets. You don't want him trying to mate them too early as he can seriously injure them so if your rooster is trying to mount the pullets you will need to keep them seperate longer.
Greg Jones
Wednesday 1st of April 2020
What are the dimensions of the coop?
Liz
Friday 3rd of April 2020
Hi Greg, it ended up being just under 2 feet wide so it could fit through the slider and about 4 feet long
Tonya Strait
Wednesday 25th of April 2018
Nice idea. Thank you for sharing this idea. We can make it very easily. This is very tiny, so I can place it anywhere in my garden or backyard.
Lydia Noyes
Thursday 25th of February 2016
This is so cute! Great tips on reasons to have a smaller coop. My coop is ginormous, (http://livingechoblog.com/reclaiming-the-old-chicken-coop-pt-1/) so I'll be using your tips soon to be able to build a second one, just in case.