---------------------------------------------------------
Are you ready to invest in some cast iron cookware but are a little intimidated by all the rules & upkeep?
The good news is cast iron isn’t as fragile or difficult to maintain as you might have heard!
Why does everyone love cast iron?
They last forever
Cast iron pans are great because they last forever (seriously there are 70-80 year-old pans still floating around that are still awesome!). It is really hard to actually destroy it. One of the biggest enemies of cast iron is rust, but even that can be scoured away with a good scrubbing with a wire brush. Not only does this save money in the long run, but saves our landfills from filling up.
The more you use them, the better they get
A properly seasoned cast iron pan has a shiny, tough layer of polymerized oil on the cooking surfaces. As you cook with your cast iron pan, repeatedly rubbing in oil and heating it, the oil doesn’t just stick to the surface of the pan, it bonds with the metal. Not only does this give your pan a fabulous nonstick surface, but it also lends flavor to the dishes you are cooking. Many people prefer the natural nonstick surface of cast iron vs the chemical compounds of Teflon-coated nonstick pans.
They hold heat exceptionally well
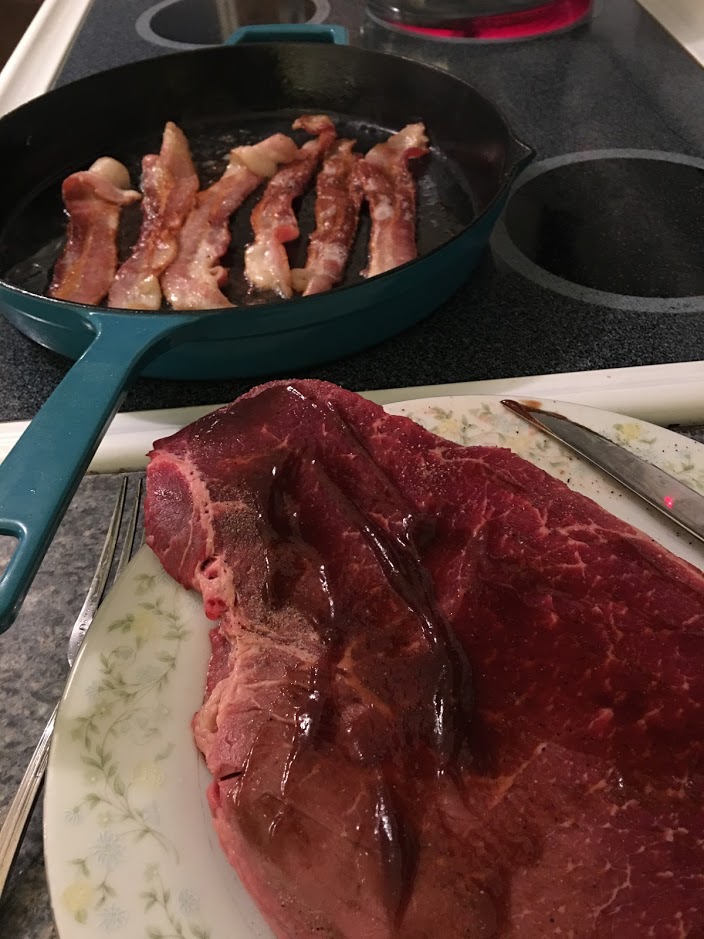
Once your pan is preheated, it will hold that temperature making it easy to get that perfect sear on your meat or for frying. The downfall of cast iron is that it does not heat as evenly as your aluminum pans will. It will heat really well the part of the pan that is directly over the burner. If you have a large skillet, you might find food on the outer edges take longer to cook. You can try preheating the pan in the oven for about 10 minutes or just moving it around on the burner while it’s preheating so all parts of the pan get heated.
They can go from stove top to oven to campfire
Aluminum and Teflon pans are not made to withstand the high heat of the oven, and can actually give off toxic fumes if heated too high. But cast iron can withstand temps well above what your oven can produce so it’s the perfect multi-use pan.
How to season your new cast iron pan in 4 easy steps
Scrub
For a brand-new pan or a rusty pan you are trying to restore, the first step is to give it a good scrub. Use a steel wool pad, hot water, and dish soap to get down to the base layer of the pan. With a brand new pan, this will not take much scrubbing, with an old rusty pan this might take a little elbow grease. IMPORTANT – this is the only time you will want to use steel wool on your pan, this is not for general cleaning, just for the first seasoning step. Scrub the whole pan including the handle & bottom. Many new pans now come “pre-seasoned”. You could use them right away, but I would recommend going through these steps anyway.
Dry
I mentioned earlier that rust is the biggest enemy of cast iron. Thoroughly drying your pan is the most important thing you can do for it. Towel dry, then put it on a hot stove top for a minute or so to completely evaporate all water.
Oil
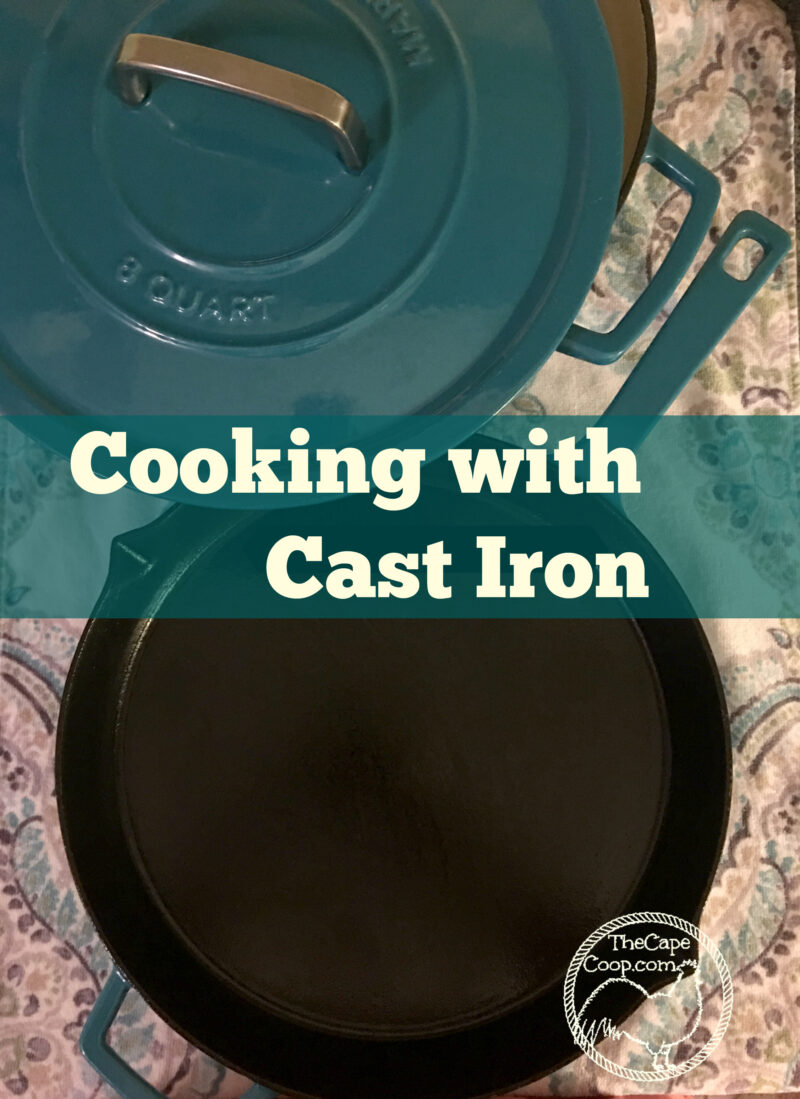
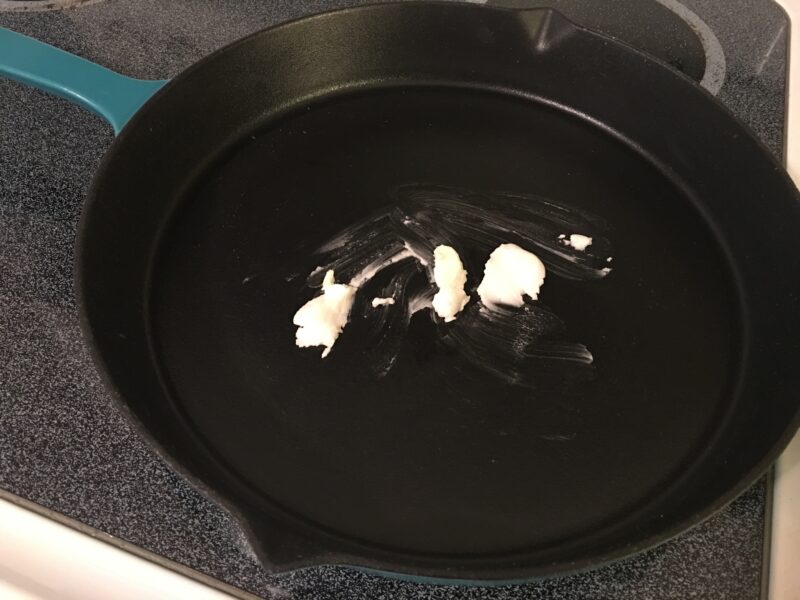
Put a thin layer of oil on the entire pan. You can use pretty much any kind of oil you want. Flax seed oil is a popular choice, but you can use any kind of oil or shortening. I generally use shortening because it’s easy to rub in, it’s cheap and I always have it on hand. Cast iron is porous so it will absorb the oil, the goal is to rub it in but not leave excess oil in the pan (excess oil could go rancid). Rub the oil in with a paper towel, then wipe away any excess. If you have an enamel coating on your pans, like the one pictured above, do NOT put oil on the enamel parts. You don’t want the oil to bake on over the enamel!
Heat
Heat your oven as high as it goes (between 450-500 degrees). Put the oiled pan in the oven, upside down, on a rack in the middle of the oven. Let it “cook” for about an hour. The super-high heat breaks down the oils so they can bond with the metal. After an hour, turn off the oven and let the pan cool inside the oven.
optional: some people like to give their pans a jump start by repeating the oil & heat phase a second or even third time. I don’t think it is necessary, but it certainly won’t hurt!
Cooking with & maintaining your cast iron pans –
8 Easy Tips
Cast iron has earned an unjust reputation for being high maintenance which turns many people off. Yes, they are slightly more work than your Teflon pans, but with just a few extra steps, you get a lifetime of tasty dishes! Check out my 8 easy tips for using & loving your cast iron pans:
Preheat before use
Cast iron pans work best when hot. If you put food in a cold pan it will almost definitely stick and cook unevenly. Put your pan on a hot stove top or in the heated oven for about 10 minutes while you are doing your prep work
Clean up while warm
Don’t let your cast iron pans soak in the sink. Remember water is the enemy of iron. If possible, clean your pans while they are still warm. If dinner conversation keeps you from doing dishes right away, just reheat the pan to help release the leftover food. Do not put your pans in the dishwasher!
Soap is fine!
This is a controversial one. Many people swear that if you use soap on your cast iron pan, it will wash away the seasoning. If you have seasoned your pan properly at a high heat, then the seasoning is not sitting on the surface of the pan but has become part of the pan so it will not wash away with a little soap and soft sponge. Feel free to wash your pan with hot water and mild dish soap. As an alternative to soap, you can also use coarse salt and hot water to scrub the food from the pan.
Dry well
After washing, be sure to dry your pan completely. Towel dry, then put the pan on the hot stove top to let the water evaporate.
Mini Seasoning
Rub a thin layer of oil or shortening (you don’t need much, about 1 tsp should do most pans) on the warm pan.
Storage
Once your pan is cool and as long as the other pans in your cabinet aren’t wet, it’s fine to stack them. These pans are made of IRON, they are made to last a lifetime, you really don’t have to worry about them getting dinged or scraped in your cabinet.
Re-season
Every few years re-season your pan in the oven like you did when they were new. Rub a thin layer of oil on the entire pan and bake upside down in the oven at 450-500 degrees for an hour.
Most importantly – USE THEM!
Cast iron pans get better with age, the more things your fry in them, the more you season them, the better they get!
